Saturday, December 28, 2013
Sunday, December 22, 2013
Redside: Environments
As a continuation of the Redside series of articles, I want to discuss the topic of environment. In this case, a comparison of the zones in City of Villains to the original zones from City of Heroes.
One of the more common reasons for players preferring heroes to villains was that the environments of the Rogue Isles (where the villains were located) were much less appealing than the heroes' zones in Paragon City. The redside zones universally had an element of urban decay (though in varying degrees), and almost all of them had a much more muted color palette than the zones found blueside.
It is fair to say that the blueside zones were much more colorful than the ones redside, though I found the latter to have much more detail and interest, as well as having a more organic design. Simply put, it looked like a place where people lived and which had grown over time, compared to the very organized (and somewhat cookie-cutter) layout of Paragon City. For example, there was practically nothing to differentiate Atlas Park, Galaxy City, and Steel Canyon aside from a couple of major landmarks. By comparison, every zone in the Rogue Isles felt significantly different, as well as having its own story or theme (such as the Family civil war in Port Oakes or the trapped demon in Cap au Diable). From the gambling strip in St. Martial to the docks of Port Oakes, the redside zones were fairly recognizable no matter where you were. I am sure that some of this differentiation can be attributed to lessons learned during the development and subsequent live phase of City of Heroes.
With the introduction of Praetoria in the Going Rogue expansion, a newly themed area was added in the form of a slightly futuristic utopian setting. The color palette was relatively sterile, but was not as drab as the Rogue Isles. The developers had returned to having more colorful zones, and even the relatively run-down areas didn't see as bland of color as those found redside.
I'm curious how the developers would have redesigned the original zones in Paragon City, given the lessons learned from later development. Faultline had been rebuilt/redesigned, though it was a changed from a Hazard Zone to a standard City Zone so it wasn't a direct comparison (though the new version was far superior to the old). Dark Astoria was also rebuilt, though I did not get a chance to see the new version.
I also wonder what changes (if any) would have been implemented in the Rogue Isles to make the setting more visually appealing to players. I felt the higher level zones (Nerva Archipelago and St. Martial) were the weaker ones in City of Villains, as there seemed to be a lot of unused space. Not to say that NPCs didn't spawn there, but rather the story or theme for the area was never really used to great extent. I would rather have seen more content in the less-used areas of existing zones, rather than new zones added.
Overall, I think the general urban blight and bland colors of villain zones really didn't appeal to some players. However, I found the zones to be much more thematic and to have a better overall design than a lot of the original blueside zones. I think urban blight has a place in a villainous setting, but it probably should not be spread across all villain zones. Give villains some variety, as more well-to-do characters would not want to live in such squalid conditions! And while it's understandable to leave room for growth in your zones (for future content), it's important not to make an area feel like it's forgotten or strangely untouched by surrounded factors (at least not without a good reason for it).
Saturday, December 21, 2013
Sunday, December 15, 2013
Redside: An Overlord's Thoughts on Player Villains
When NCsoft shut down City of Heroes last year, I started thinking about my time and experiences in the game over the eight or so years that I played. With the recent success of City of Titans (its spiritual successor) on Kickstarter, the game once again returned to mind. One aspect I always found intriguing is that after the release of City of Villains (the stand-alone expansion for City of Heroes), many players still preferred to play a hero rather than a villain. I'd like to share a few thoughts on various aspects to this in a new series of articles called "Redside".
For those who might not understand the reference, City of Heroes' UI was colored blue, while City of Villains' was colored red. As a result, "blueside" and "redside" became shorthand for playing as a hero or a villain, since the two sides had very little crossover (except for PvP zones).
Personally, I've always been drawn to the "bad guys" in any setting. Even as a kid, I liked Cobra more than G.I. Joe; the Decepticons more than the Autobots; Skeletor more than He-Man; and so on. The bad guys always seem to look cooler, and they don't play by the rules (or if they do, it was by their rules). So naturally, when City of Villains came out, I was excited! There are very few games which allow you to play as the "bad guy" (the most obvious one that comes to mind is both the Overlord series and the Dungeon Keeper series), and City of Heroes' gameplay was fun. My goal is to draw upon my experience with various villains and combine it with my observations in City of Villains to provide some thoughts on what worked and what didn't, and what I hope to see done in City of Titans should things come full circle and villains are once again playable.
In closing, I will leave you with a quote from Ghost Widow, one of the lieutenants of the villainous faction called Arachnos in City of Villains:
But such is the nature of villainy... to do the unthinkable, to challenge the impossible, to conquer all before you and make destiny your own.
Reaper Bones: Stone Golem
The figure for this week's Monday Miniatures is 77171 Stone Golem (which finishes up the Golem set from the Bones I Kickstarter):
Sunday, December 8, 2013
Sunday, December 1, 2013
Reaper Bones: Vermin: Spiders
This week's Monday Miniatures (led by Caffeineforge.com) is a simple one (or two, as the case may be): 77126 Vermin: Spiders. Thanksgiving was this week, and I've been recovering from my sickness from last weekend, so I was happy to have an "easy" week.
Sunday, November 24, 2013
Sunday, November 17, 2013
Reaper Bones: Yephima, Female Cloud Giant
This coming Monday Miniatures figure on Caffeineforge.com is 77162 Yephima, Female Cloud Giant, and here is my submission:
Thursday, November 14, 2013
Reaper Bones: Clay Golem, Well of Chaos, Mummy Warrior
In my previous post, I mentioned Caffeineforge's Monday Miniatures paint challenge. I'm still working on my submission for next Monday (Yephima, Female Cloud Giant), but I wanted to show some of the previous miniatures that I have completed.
Starting with the most recent, here is the 77170 Clay Golem:
Starting with the most recent, here is the 77170 Clay Golem:
Sunday, November 10, 2013
Reaper Bones: Galladon Greycloak
While I have been quiet, I have not been idle! I'm happy to report that I've been making excellent progress on my Reaper Bones from the 2012 Kickstarter, which is good because next year I'll have all of the additional figures from Bones II adding to my "to be painted" queue!
In an effort to stay motivated with painting my Bones figures, I've joined in on Monday Miniatures at Caffeineforge. The concept is simple but excellent, and helps provide some structure for anyone who might be overwhelmed by the sheer number of Bones to paint! Each week, one figure is chosen as the goal for the following Monday. The best part is seeing the variety of submissions, and how differently the same miniature can turn out based on different paint schemes!
Tomorrow's miniature is 77054 Galladon Greycloak, Male Human Wizard:
Friday, June 7, 2013
Descent: Journeys In The Dark (Quest) - The Man Who Would Be King
Quest VIII - The Man Who Would Be King
Campaign Finale
Baron Hadrian's rocs had delivered the heroes just outside bowshot from Castle Talon, the seat of Baron Zachareth's power. The heroes quickly dismounted and moved toward the castle, expecting an ambush that never came. The castle seemed oddly deserted as the heroes passed unchallenged through the gates - likely due to the Overlord's forces assaulting Baron Greigory's domain. Proceeding, the heroes entered the castle's main keep, passing the bodies of those citizens who had tried to oppose the Overlord. [The Overlord had won two of the three Act II quests, and so we would play Finale 2. The heroes were ambushed on the way to the quest, but only one hero was wounded; the other Event Cards were "no event".]
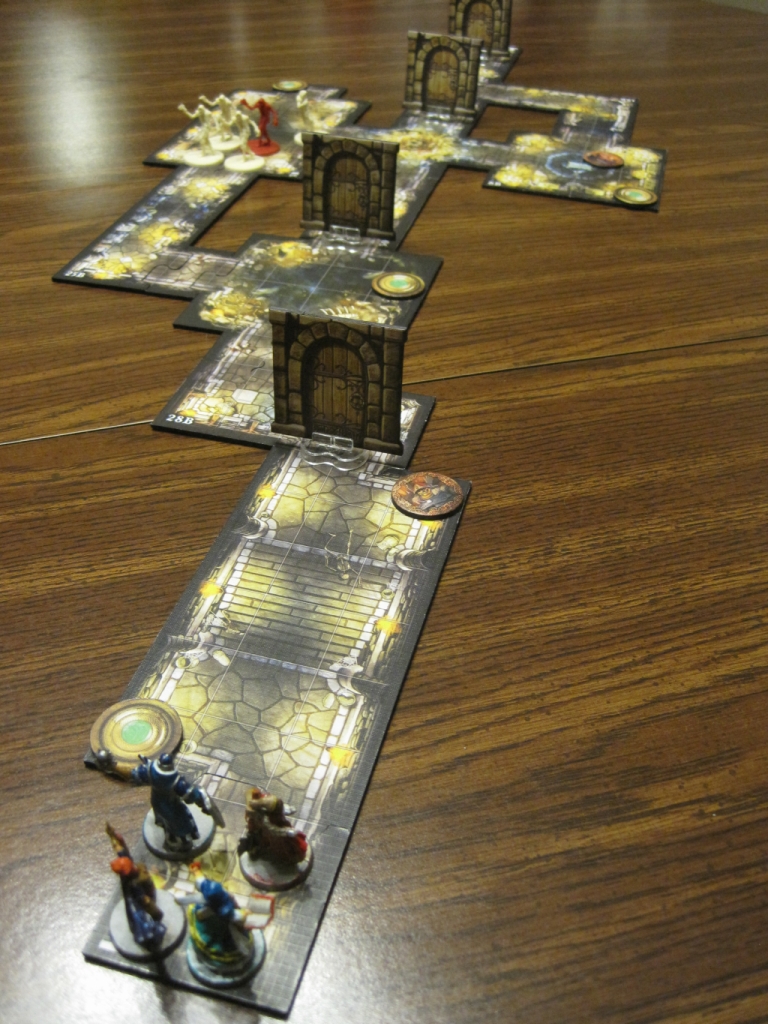 |
| The chase through Castle Talon begins |
Inside, the heroes were surprised as Splig, self-styled "King of All Goblins", emerged from a larder bearing a large chunk of mutton and a twisted iron crown. He yelped in surprise and took off with surprising speed down the corridor, quickly locking a solid oak door behind him. The heroes gave chase, as Jain Fairwood deftly picked the lock on the door. [The heroes really didn't like having to skip their first turn. Sadly, locking the door behind Splig was a waste of an action given Jain's high Awareness and Grisban's high Might.]
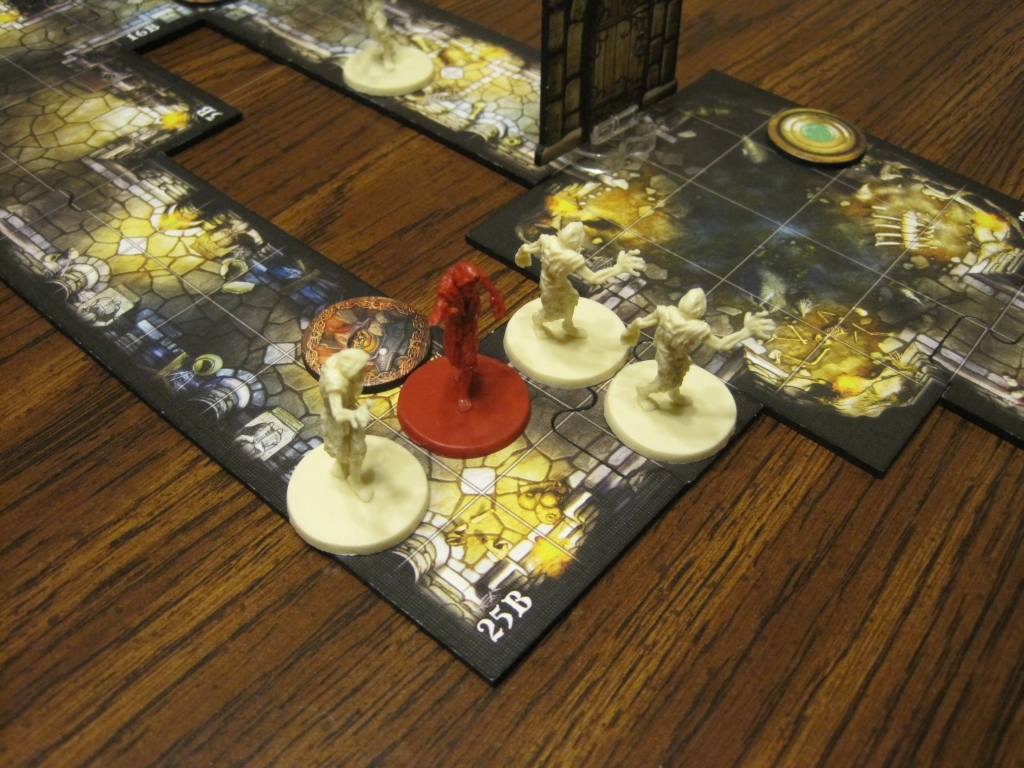 |
| A wall of zombies protects Splig |
As a horde of zombies shuffled forward, Splig slipped through their ranks and continued running down the castle's long corridors. Belthir the dragon hybrid had heard the alarm as well, and had taken up position as a four-way passage to intercept the heroes. Meanwhile, a large shadow dragon charged through the main gate, quickly slipping past Avric Albright and isolating him from the other heroes. The dragon breathed his fiery breath at the other three heroes, taking out Leoric of the Book and Jain Fairwood in an awesome display of power. [The master shadow dragon came in and laid waste to the party with a devastating roll of the dice. At this point, with Avric pinned behind the dragon and two of the heroes knocked out, I thought I might actually have a chance at winning!]
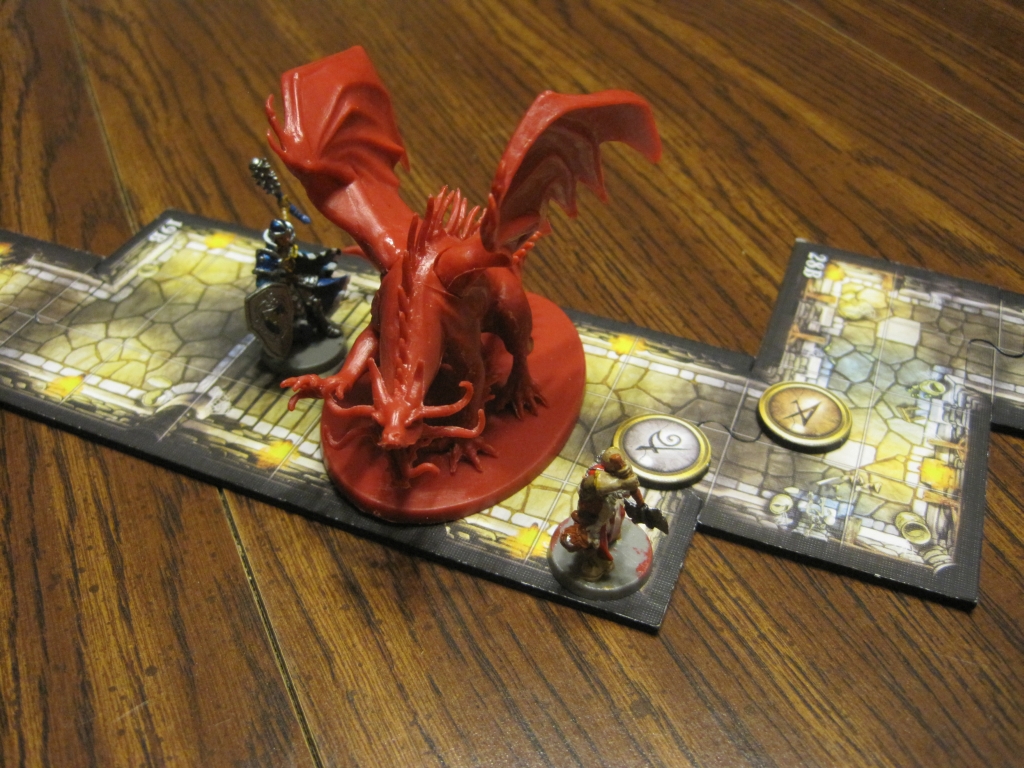 |
| A fearsome shadow dragon lays waste to the party |
Grisban the Thirsty was injured as well, but with two mighty blows from his axe put an end to the dragon. Avric quickly moved up and used his healing aura to revive his fallen comrades, who moved into the corridor and attacked the zombies that had come into view. Grisban pushed past his allies and smashed through another door, intent on catching Splig before the goblin could escape. [In a bizarre turn of events, Grisban wound up far ahead of everyone else, despite his meager Movement of 3. The heroes quickly recovered from the shadow dragon's surprise assault, and managed to push through an opening in the monsters' lines.]
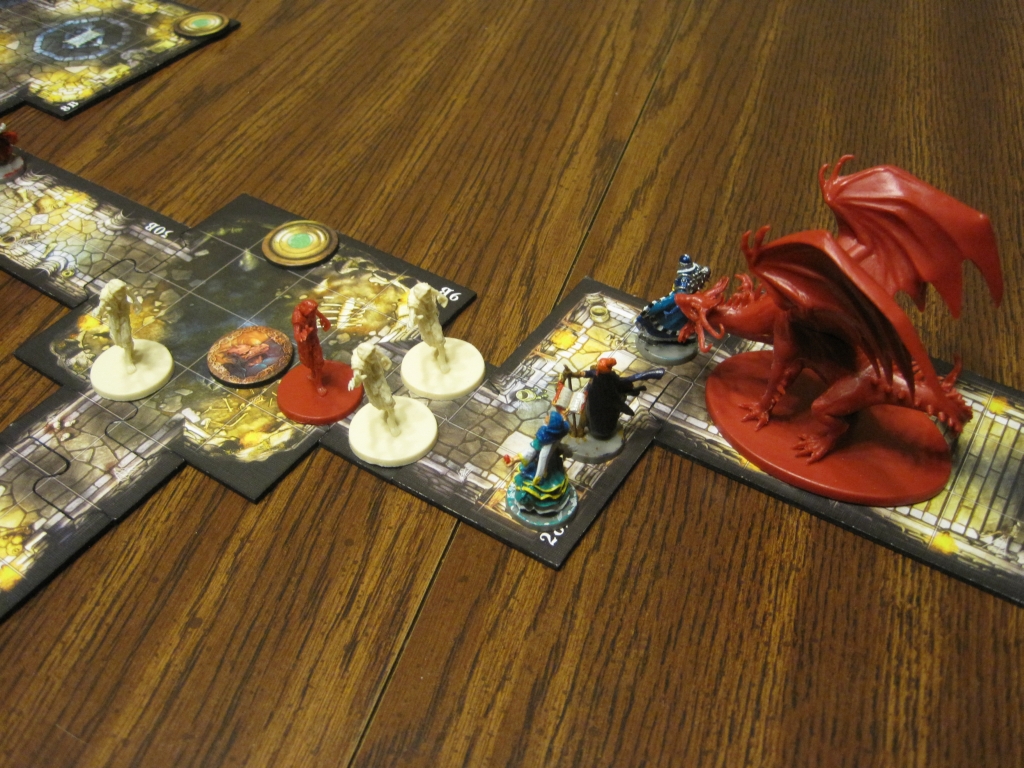 |
| The heroes are pinned in |
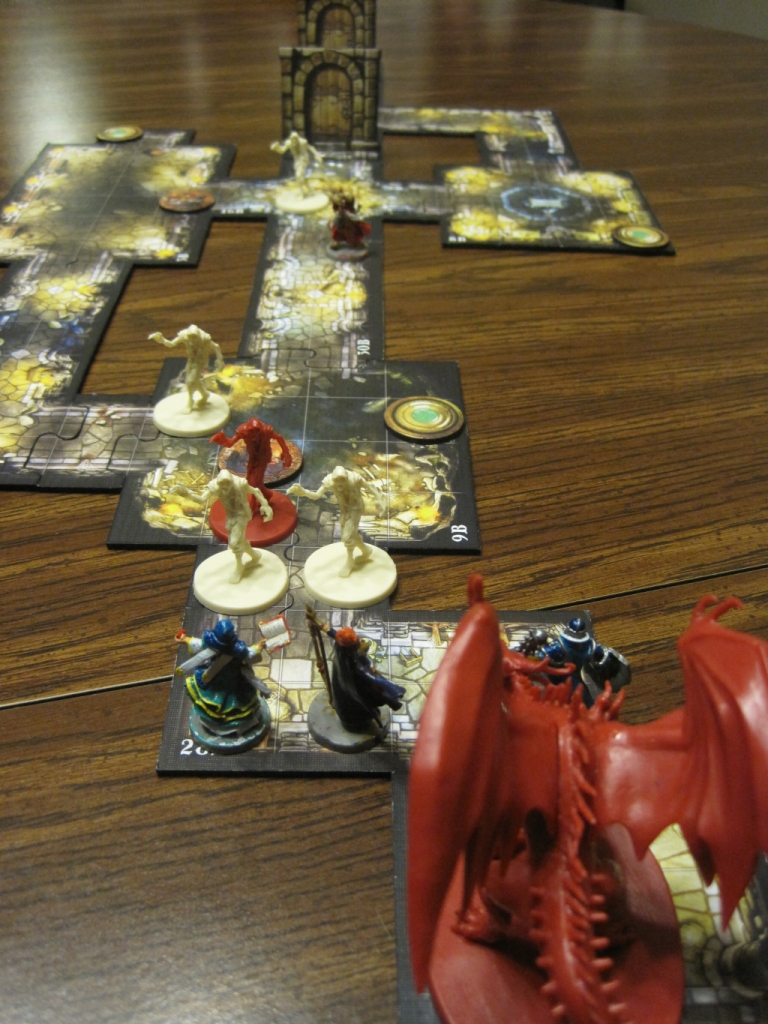 |
| Closing in for the kill |
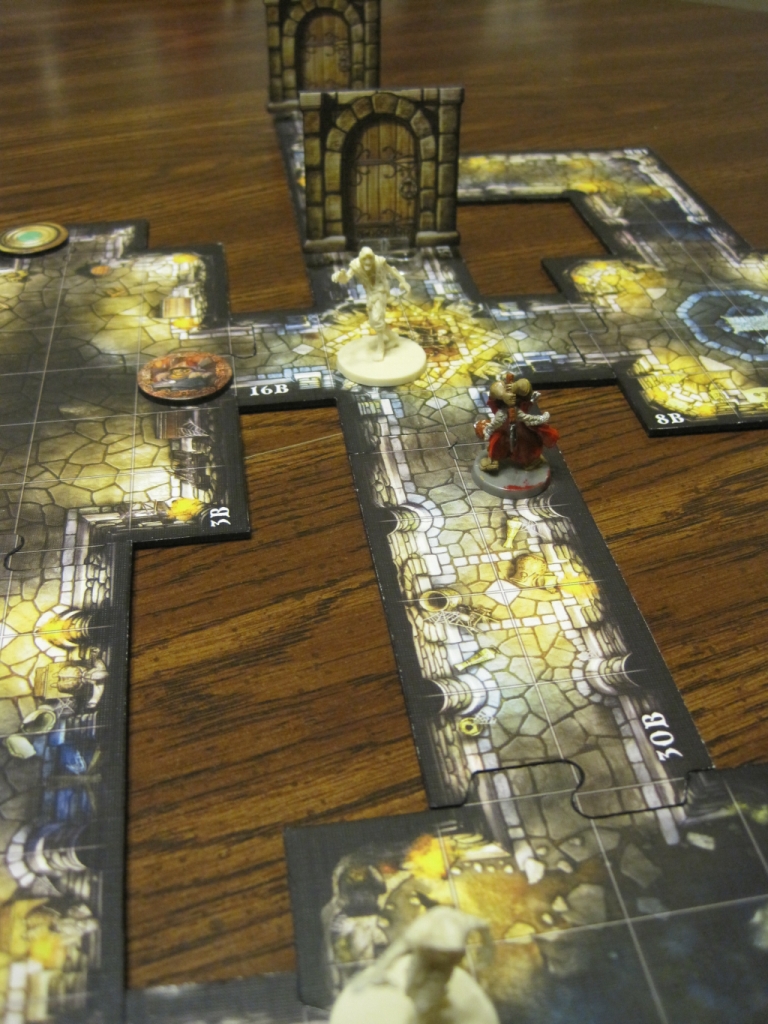 |
| Grisban rushes ahead to catch Splig |
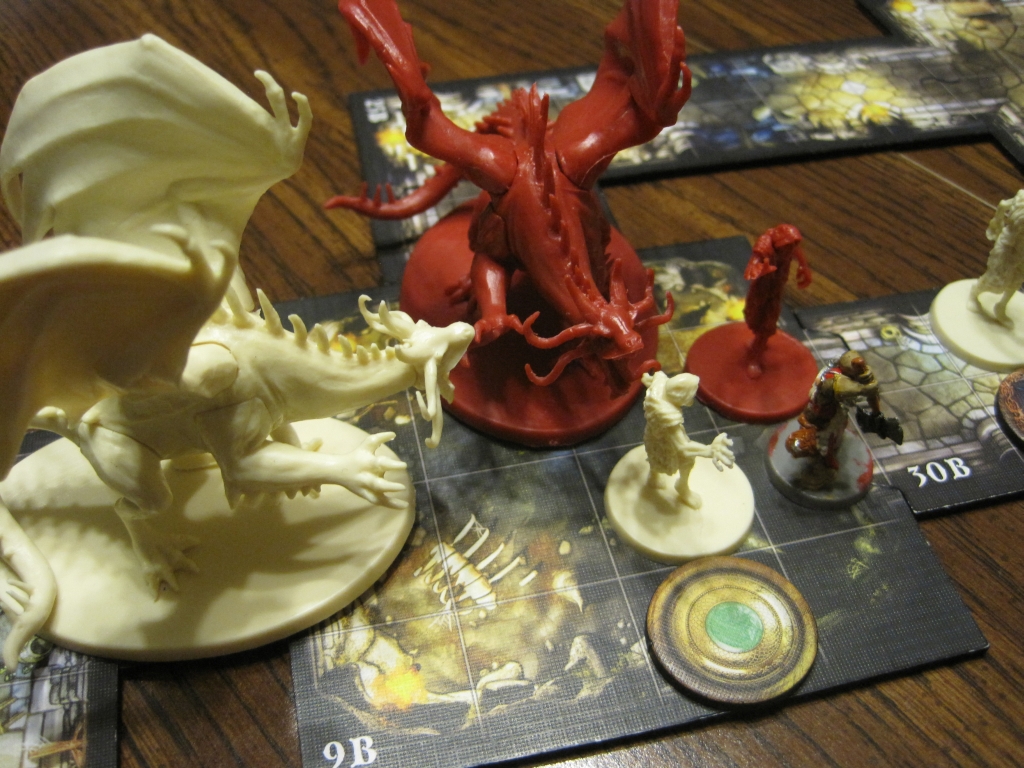 |
| Grisban holds the line as only a dwarf can |
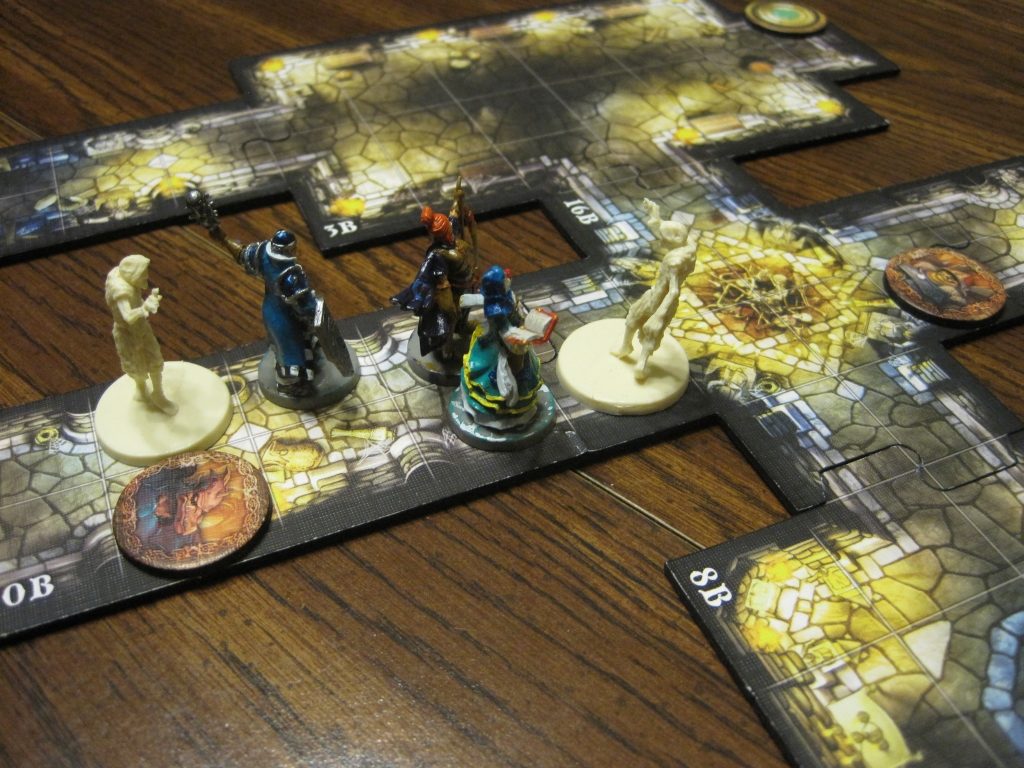 |
| The party fights their way to Splig |
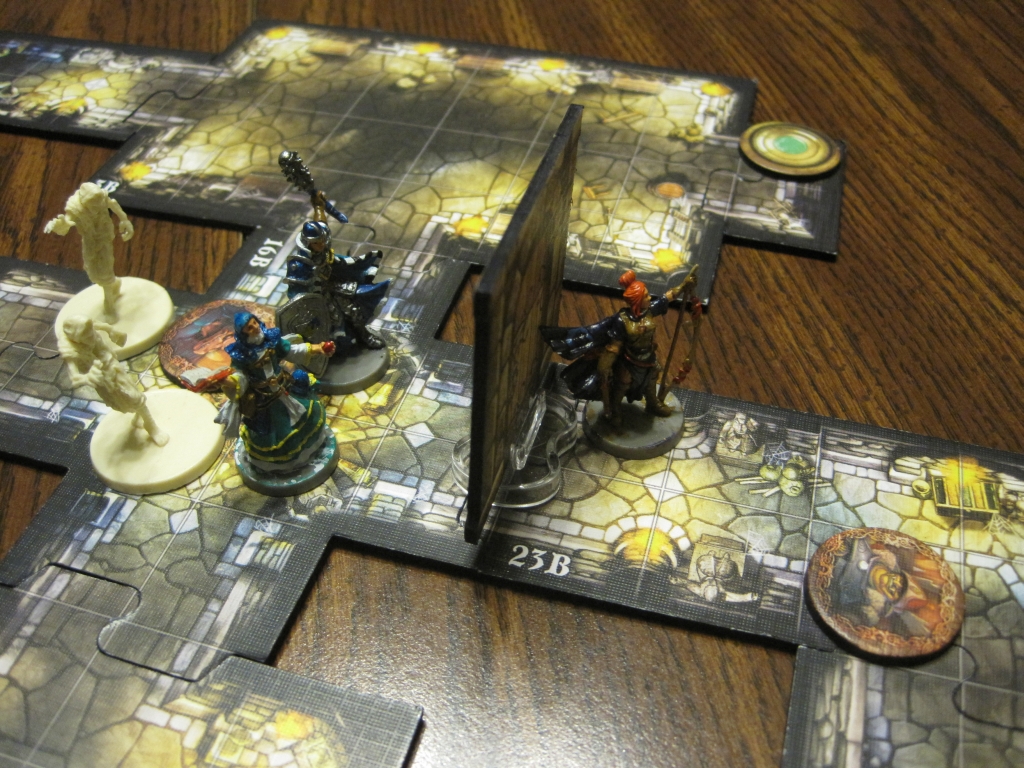 |
| Splig locked the door behind Jain, but is it enough to slow the other heroes? |
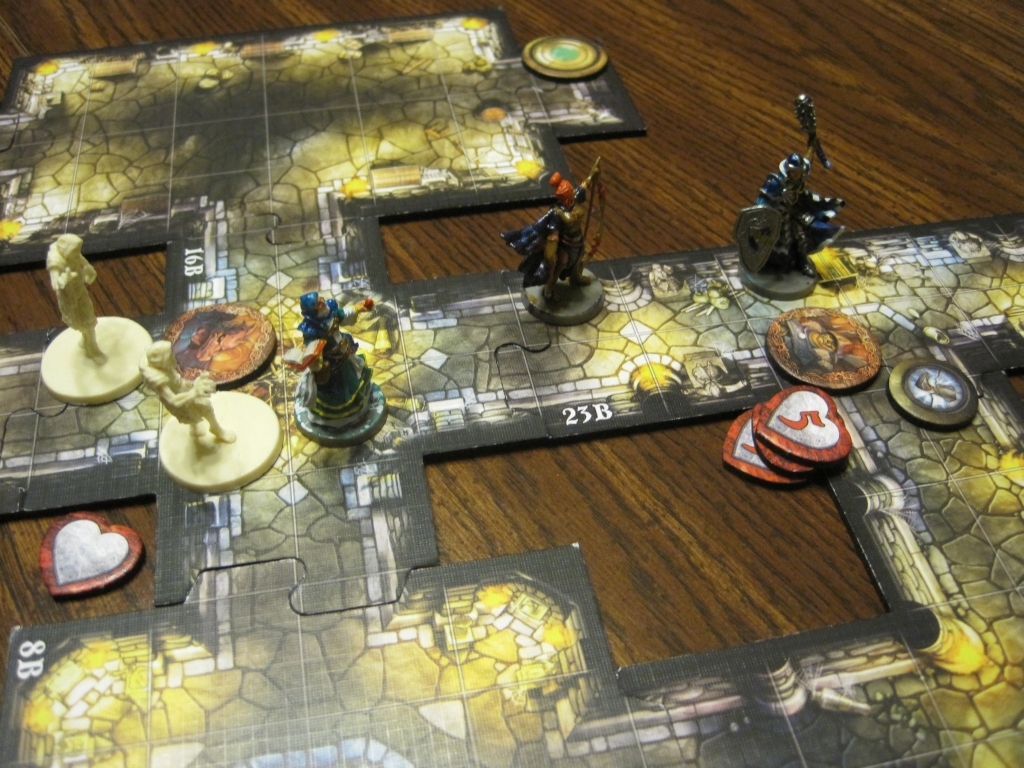 |
| The heroes pummel the fat goblin |
As the heroes approached the throne room of Castle Talon, they knew there would be no going back. This was their last chance to stop Baron Zachareth and prevent the Overlord was sweeping across the Rhynn and the other baronies... and perhaps even all of Daqan. After a brief discussion and examination of the artifact by Leoric of the Book, it was decided that mighty Grisban should wear the Iron Crown as defense against the Overlord's attempts at mental domination, as he stood the best chance of fighting through the ranks and defeating Zachareth. [In this Encounter, the Overlord gets free use of the "Dark Charm" Overlord card every turn. However, this cannot affect the hero wearing the Iron Crown. As the heroes' powerhouse, the crown was given to Grisban.]
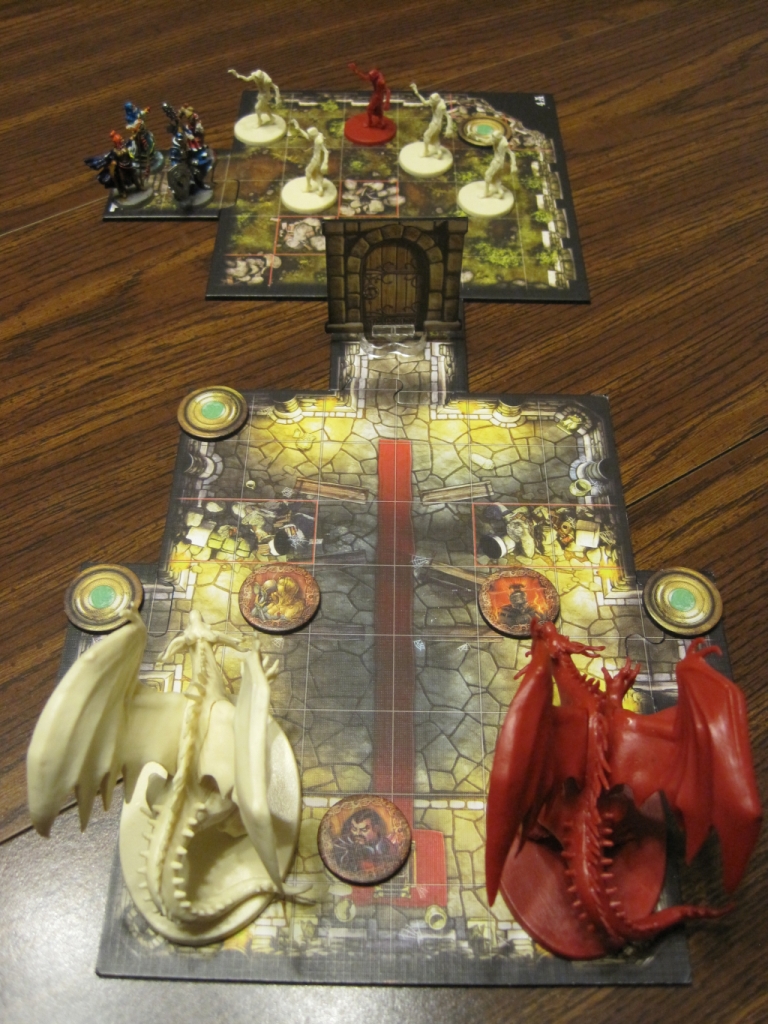 |
| Approaching the Throne Room |
The heroes push forward, quickly felling the zombies in the Ruins and rallying outside the door to the Throne Room. As the heroes push into the room, Lord Merrick and Lady Eliza Farrow dodge out from the fallen columns to attack the heroes at range. The minion shadow dragon pushes forward, and with a mighty attack breaks through Leoric the Book's defenses and eats him! [The heroes pushed into the room, and a barrage of ranged attacks went both ways. Leoric had been wounded, so the shadow dragon was able to finish him off. Because this is the Finale, any hero that is defeated counts as being slain (rather than simply knocked out) and is immediately removed from the game! (Note that I use the hero tokens to mark where they died in the pictures, so it's easier to keep track of how many heroes remain.)]
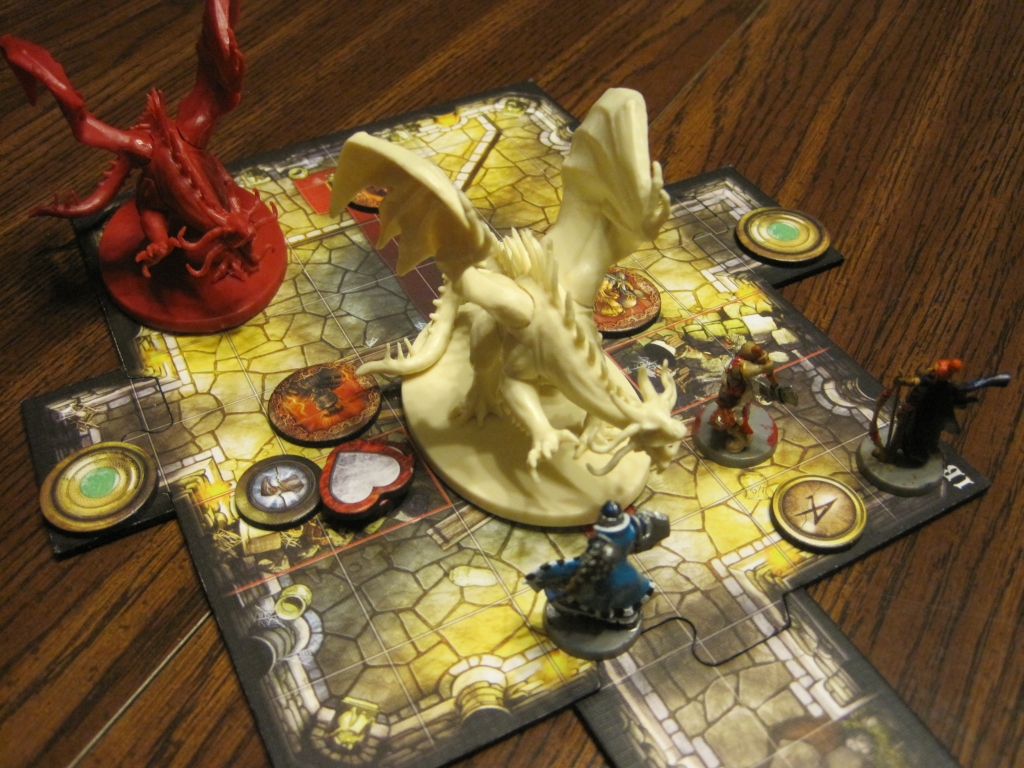 |
| Leoric of the Book is eaten by a dragon |
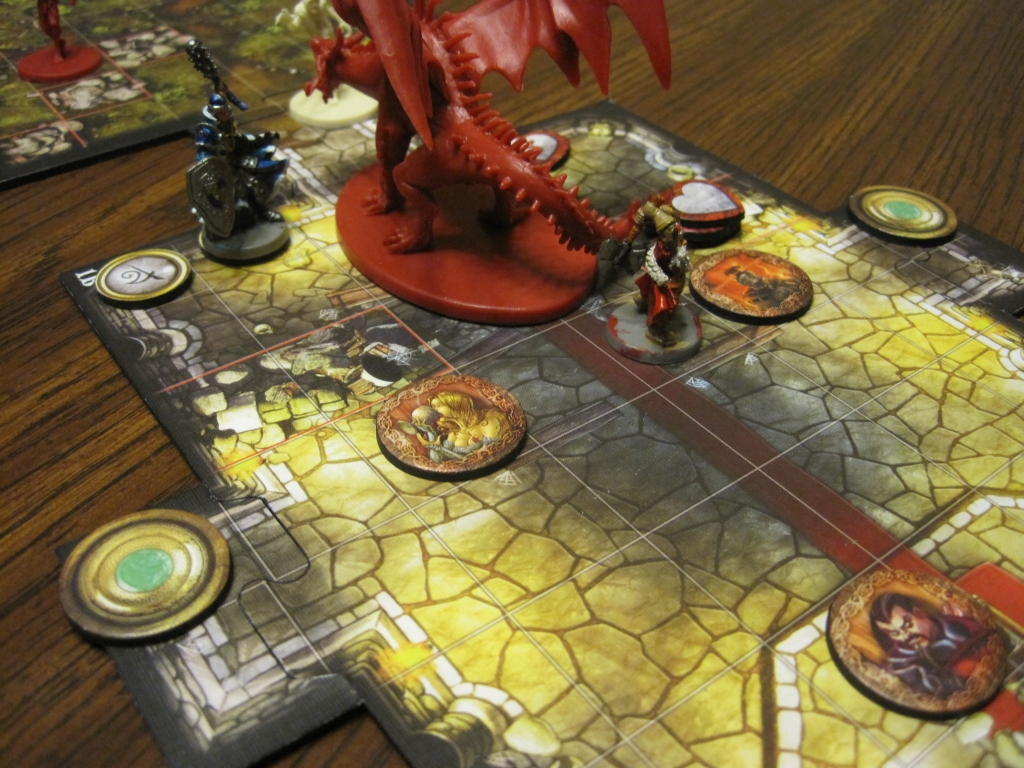 |
| Jain Fairwood is the next to fall |
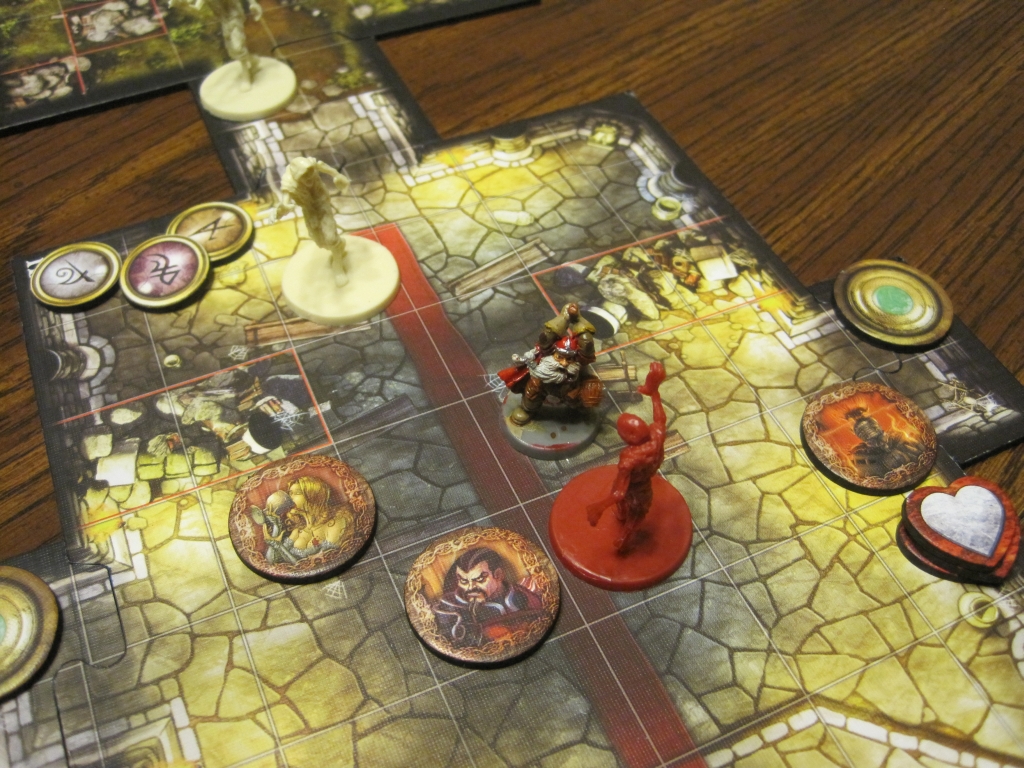 |
| Avric Albright was slain as well |
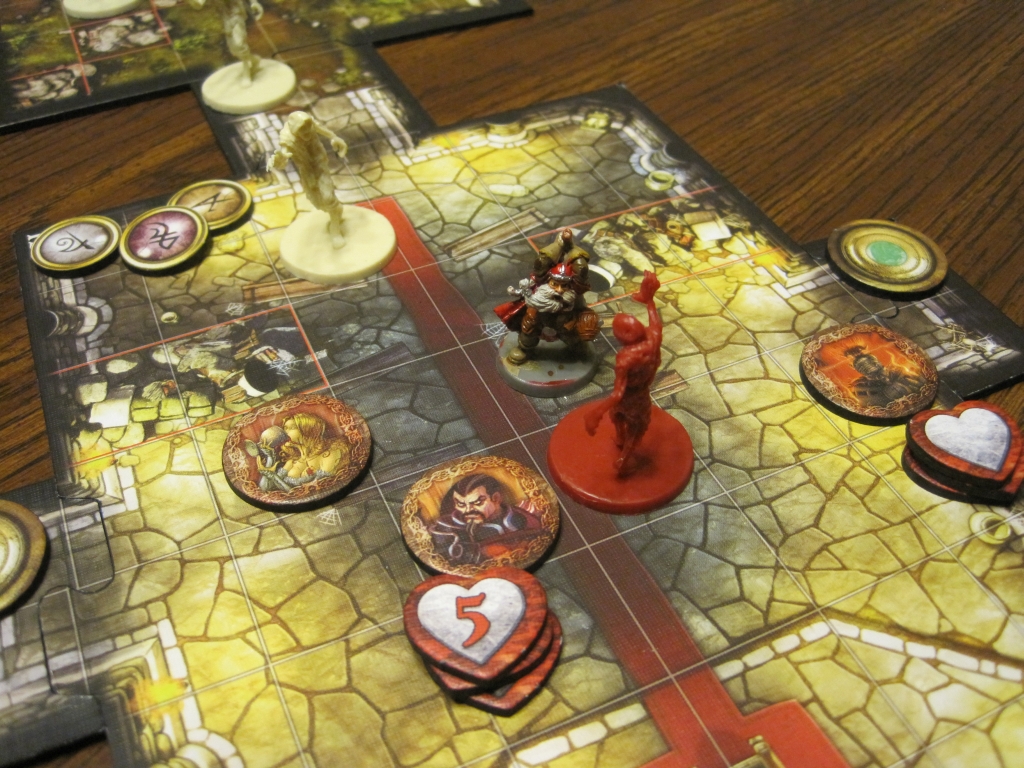 |
| Grisban the Thirsty avenges his fallen comrades... |
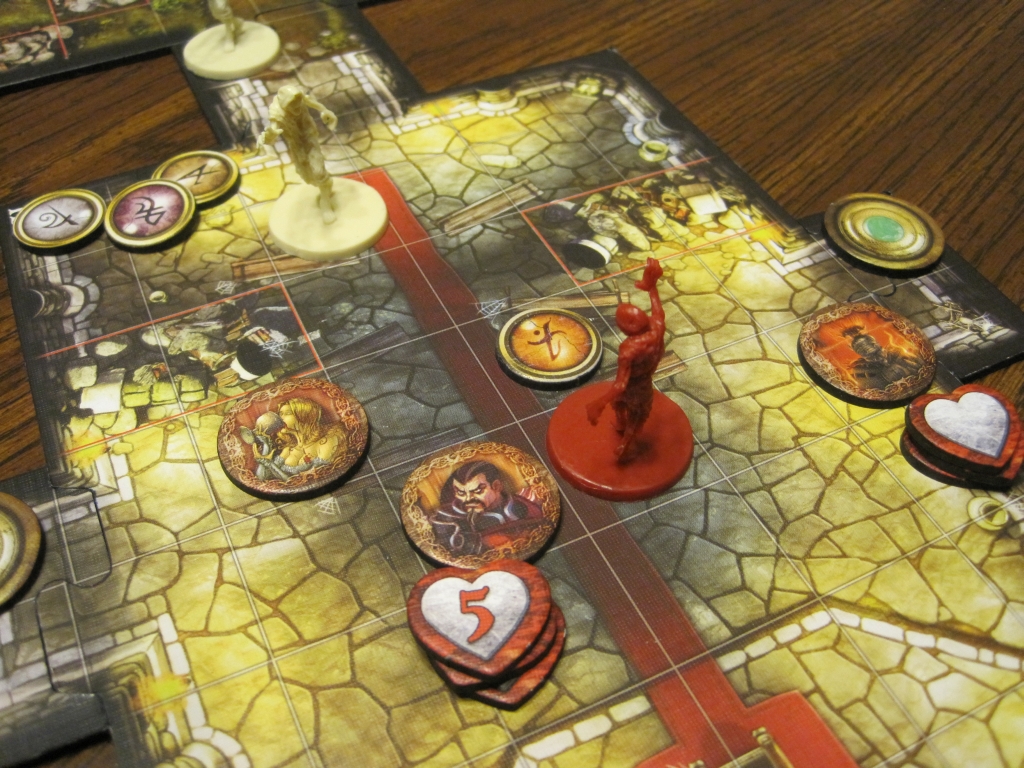 |
| ... but in the end, the Overlord triumphs! |
OVERview
Going back to the first Encounter, at first it seemed like Splig's flight was hopeless given his low Movement and the fact that he has to spend an action to open all the doors that are in his way (which the heroes would not have to do unless I spent another action to close them back). When the first shadow dragon came in and wiped out half the party, while I had Splig safely behind a wave of zombies, I thought I might actually be able to pull off a win. However, the heroes played brilliantly and switched up their roles just in time to bring enough firepower to bear on Splig to take him out and win the Encounter.
The second Encounter was a straight-up epic boss fight, right down to the very end. The heroes couldn't quite force their way into the Throne Room, as they were under fire from Lady Eliza and Lord Merrick, and the two shadow dragons kept them at bay. The Dark Charm ability did not play a significant part in the Encounter, as the heroes mostly succeeded in their Willpower checks, and the couple of times they did not I rolled horribly for their attack damage. Still, Grisban wearing the Iron Crown meant that the stakes toward the end of the game were even higher, as I couldn't try to force him to attack himself with Dark Charm.
Overall it was a great campaign, and all of the players seemed to have a lot of fun right up to the very end! We may try playing some one-off games, or take a break from Descent until the next expansion (Labyrinth of Ruin) is available so we have an all-new campaign to play. Either way, I look forward to trying out a hero, or seeing if I can further thwart the heroes as the Overlord!
Sunday, June 2, 2013
Descent: Journeys In The Dark (Quest) - The Desecrated Tomb
Quest VII - The Desecrated Tomb
After being informed by Baron Greigory's librarian that an important clue was to be found near Sir Arcite's tomb, the heroes set out to stop the Overlord's latest plan. On their journey they encountered a band of Latari elves beset by the Overlord's minions, whom the heroes helped the elves defeat in a strike against their mutual foe. Continuing on, the heroes quickly arrived at the tomb. [The heroes only had a single encounter, the others cards were "no event".]
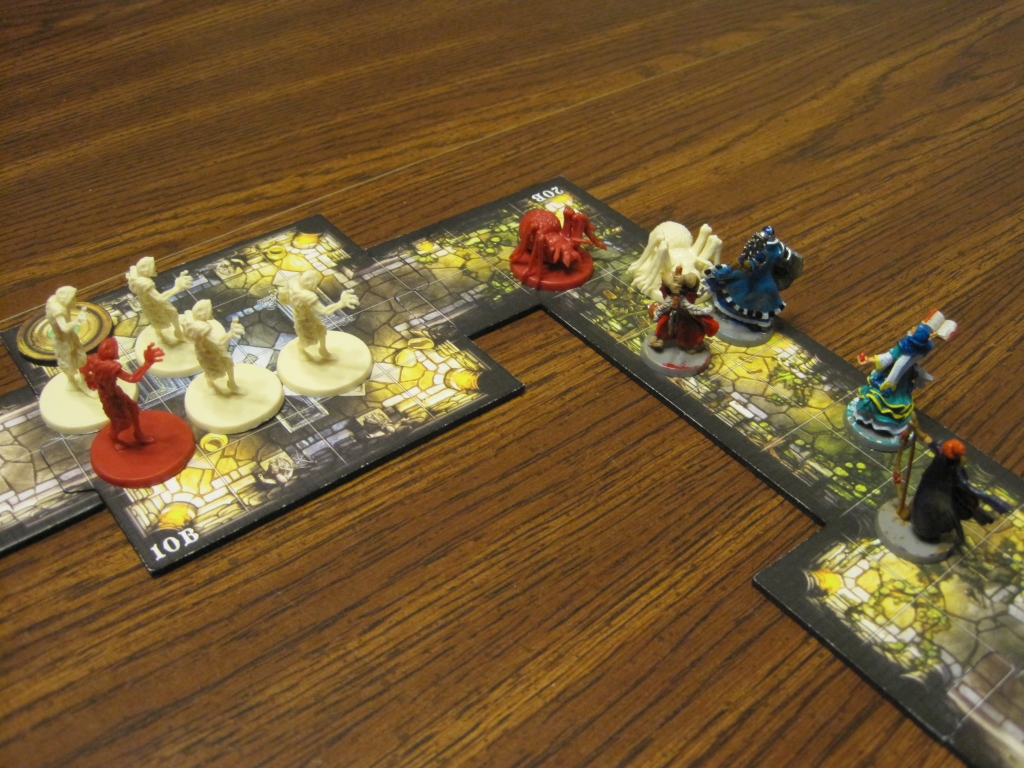 |
| The heroes start down the gauntlet |
Inside, the heroes quickly fought past a nest of cave spiders only to find themselves facing the walking dead. The Overlord has desecrated the tomb, and the dead could not rest. However, the heroes knew they had to press on if they were to find a clue to the Overlord's next plan. Fighting through zombie after zombie, the heroes eventually found a tattered map. The map showed the location of a cavern deep in the Greatwood. Whatever the Overlord wanted in that cavern, the heroes knew they had to stop him! Fighting free of the zombies, the heroes made haste to stop their enemy's plan. [A few turns had passed before the heroes realized that they really needed to hurry on this quest. The Overlord's forces were pathetic, but the numerous cave spiders and respawning zombies created a large number of obstacles that the heroes had to deal with on their way in and back out.]
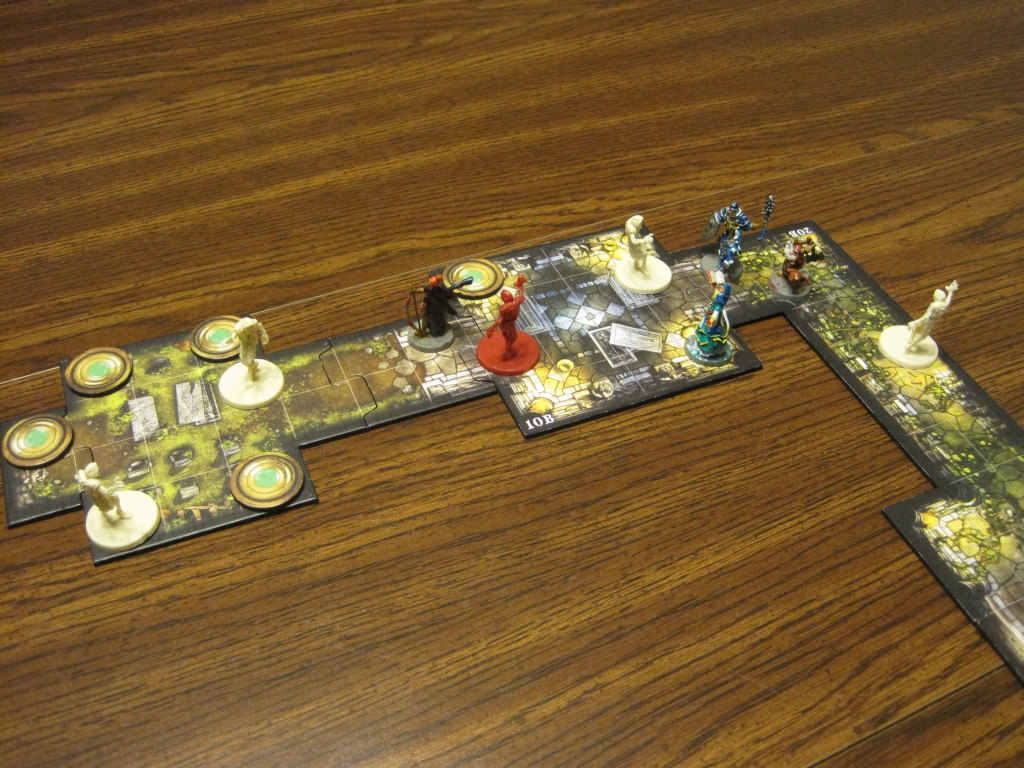 |
| The heroes make progress, but the zombies keep coming |
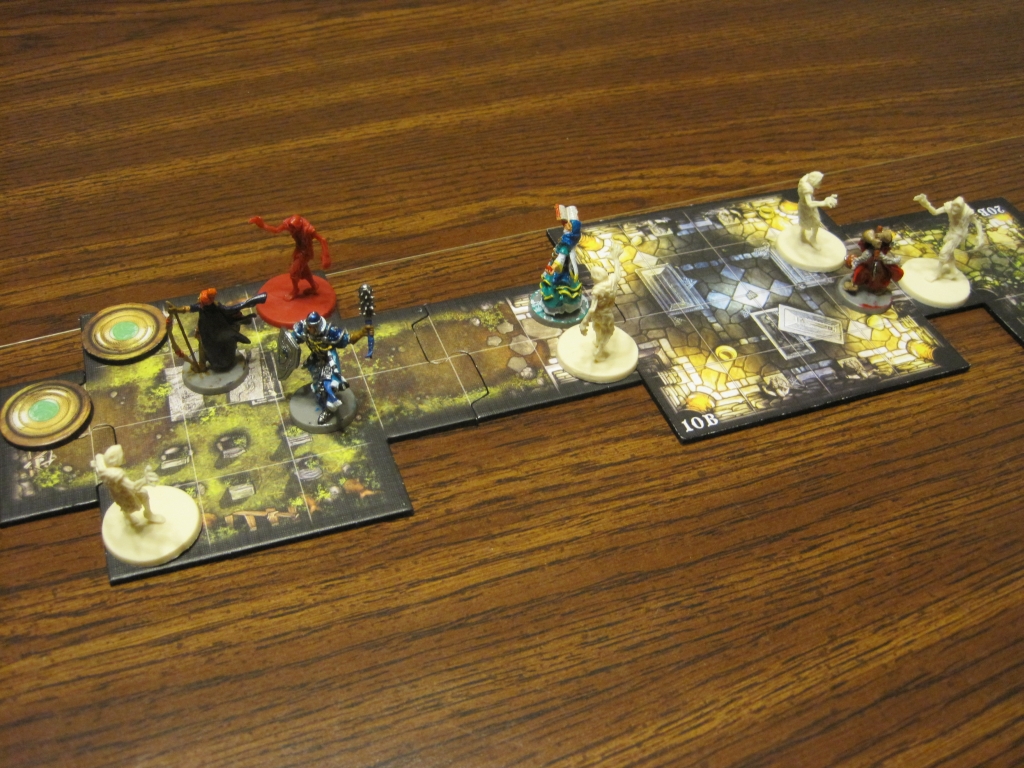 |
| Jain figures out where the clue is as the party fights off more zombies |
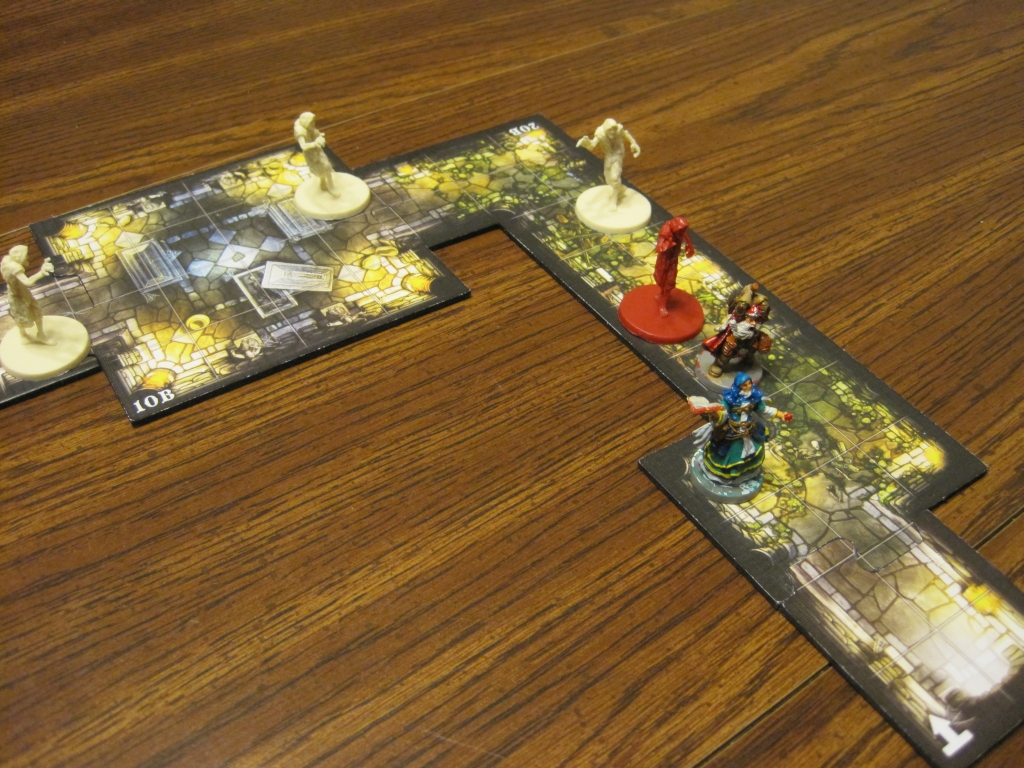 |
| Escape on the last round! |
The heroes arrived just in time to see Sir Alric ordering a pair of ettins to stand guard over the entrance. Unfortunately, the ettins' limited intellect required the knight to speak slowly, and he lost vital time. Seeing their chance, the heroes quickly launched an attack before Sir Alric could proceed any further into the cavern. Leoric's runic magic bound Sir Alric in place, rooting him as Jain fired a volley of arrows at her foe. [The heroes won Encounter 1 by one round, so even though Sir Alric had a large number of "free" moves, the Overlord did not get the first turn in Encounter 2. This spelled trouble for Sir Alric due to Leoric's Immobilize condition on his rune weapon.]
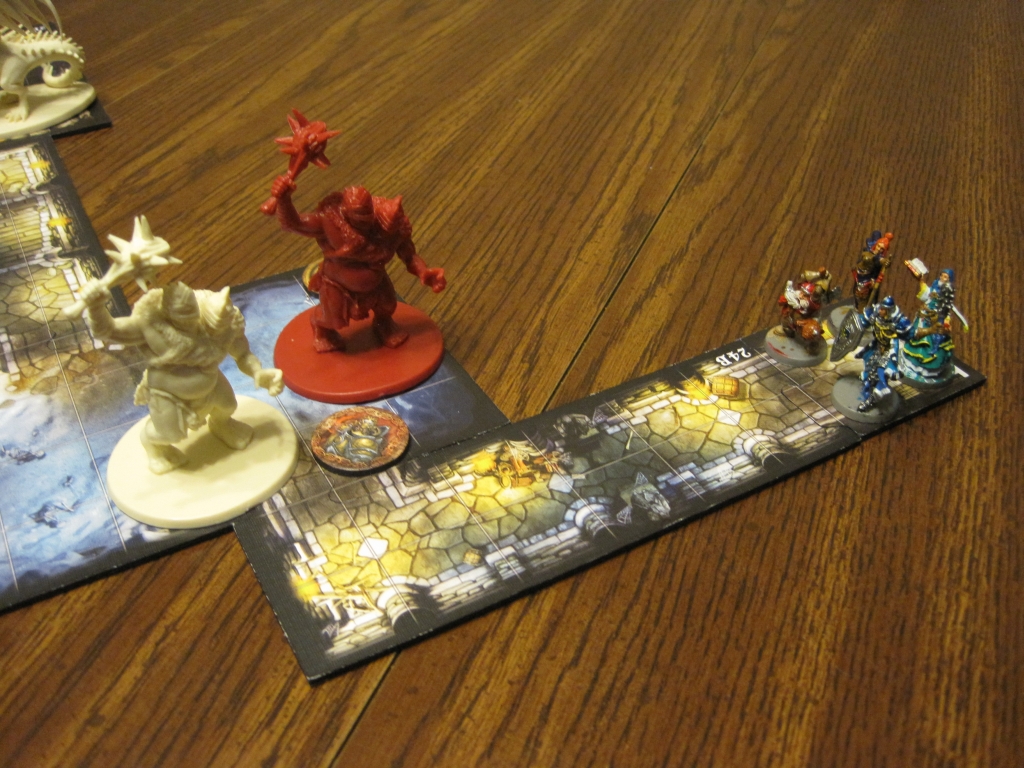 |
| Sir Alric tries to explain to the ettins how to guard the entrance |
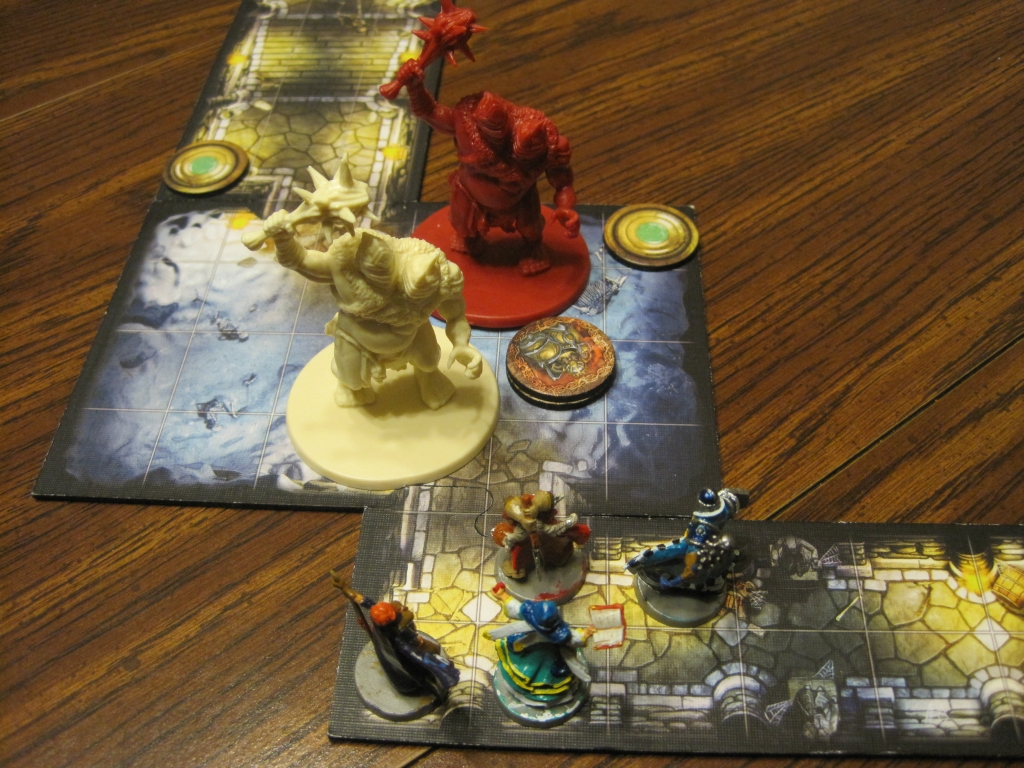 |
| The heroes assault Sir Alric Farrow |
Meanwhile, Grisban held the ettins at bay, severely wounding one as the two giants got in each others' way attempting to hit the dwarf. One of the ettins' errant swings managed to strike Leoric, but not before the mage released a series of powerful blasts at Sir Alric, forcing him to drop the Dawnblade. A shadow dragon emerged from deeper in the cavern and moved to attack Grisban as Sir Alric rolled out of the way. [Sir Alric was pinned in place for a couple of turns, as he was pummeled with ranged attacks. In this Encounter, he acts as a hero when defeated, so he was able to recover on the subsequent turn, but it forced him to drop the Dawnblade. Fortunately, I was able to move the shadow dragon on top of it to keep it out of the heroes' hands.]
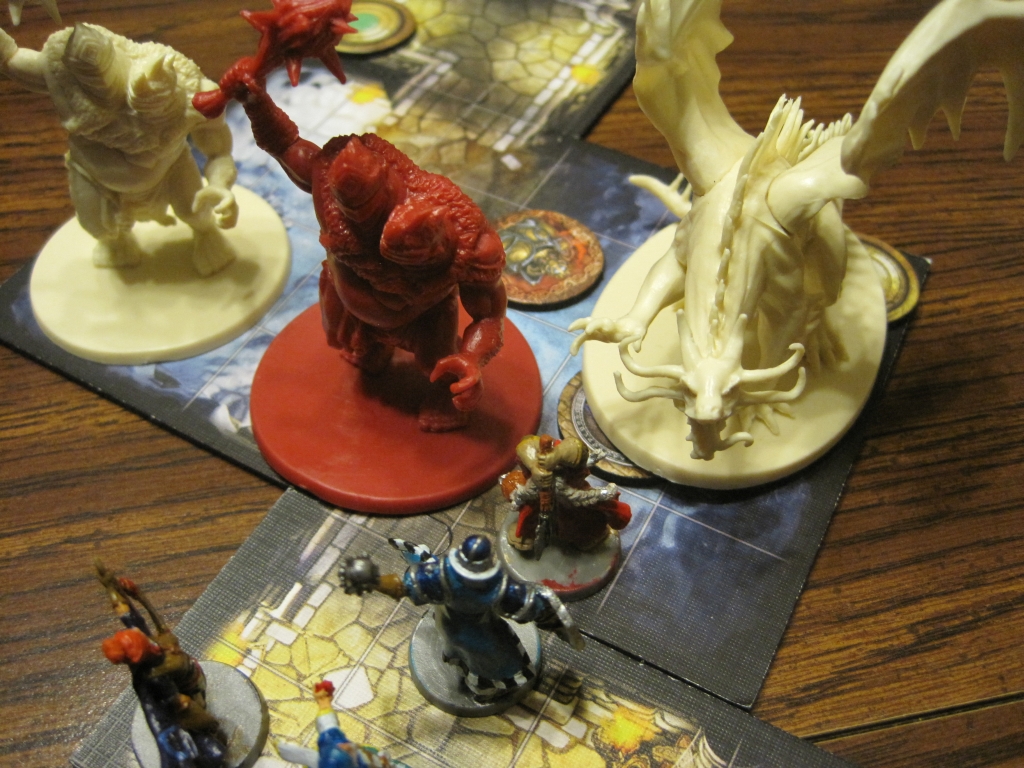 |
| Shadow dragon guarding the dropped Dawnblade |
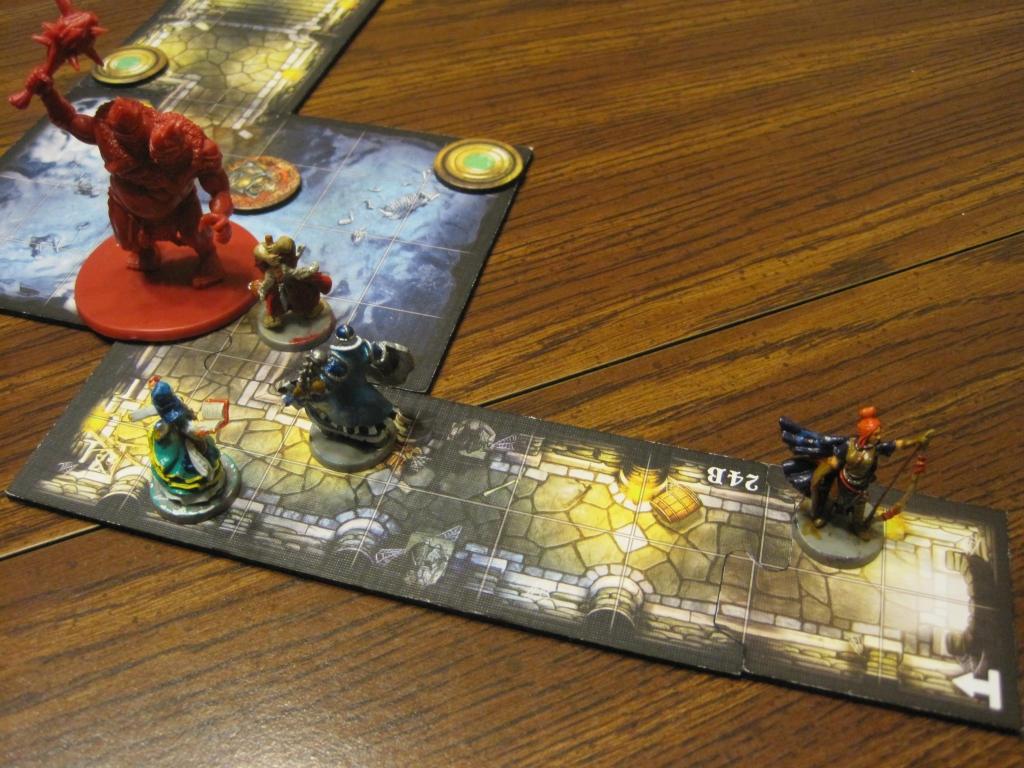
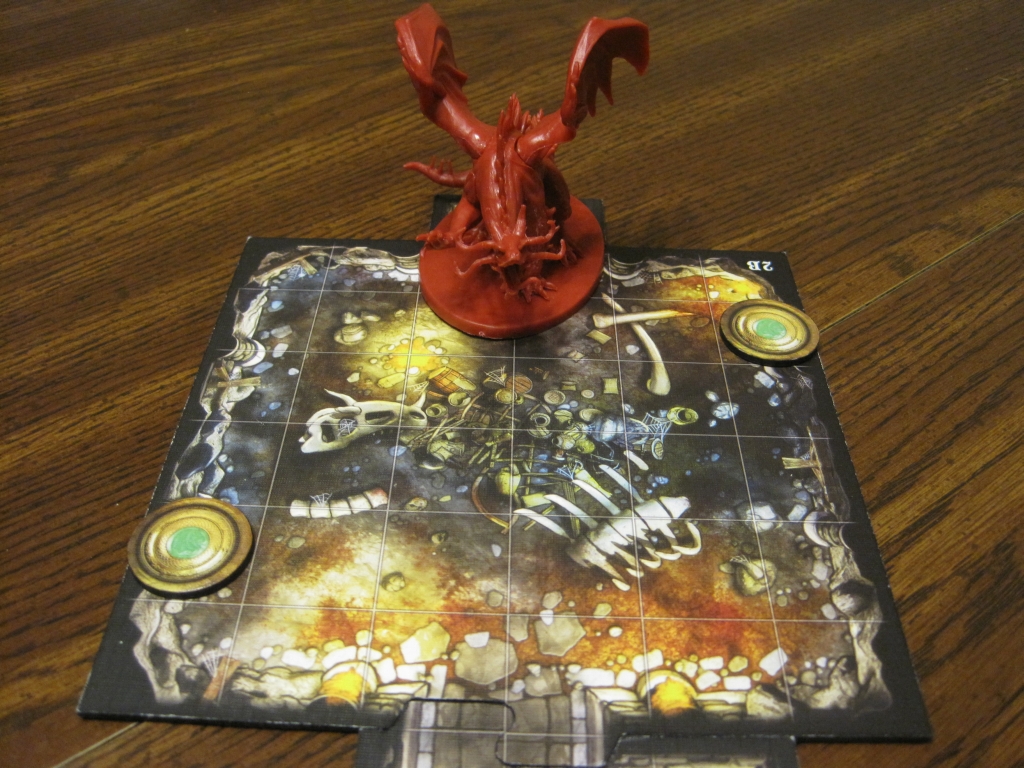
Unfortunately, the dwarf had learned much (and had drank even more) during his recent adventures, and as Leoric recovered from the ettin's attack the pair quickly defeated the shadow dragon with rune and blade. Seeing their chance, Jain quickly darted past the dying dragon's thrashing limbs and grabbed the Dawnblade before Sir Alric could do so. The heroes quickly fell back to the entrance as Sir Alric howled his rage and gave chase with the ettins. However, the clumsy ettins and heavily armored knight could not keep up with Jain's skills at pathfinding, and the heroes escaped with their prize. [The heroes won a decisive victory, as Sir Alric never even made it out of the Frozen Cave and the dragon Khorayt never even woke up!]
 |
| Jain dashes away with the Dawnblade |
 |
| Jain dashes away with the Dawnblade |
OVERview
On the other had, Encounter 2 was a big letdown. Looking back, I should have placed Sir Alric one space away from where I did, and used the two ettins to block him from the heroes. If nothing else, the heroes would have had to waste a few attacks to break through the ettins. Leoric's rune weapon allowed him to Immobilize the target on a Surge, and that kept Sir Alric locked down long enough for the heroes to defeat him. Once that happened, I did manage to use the shadow dragon minion to block the heroes from reaching the dropped Dawnblade. My goal was the retrieve it on Sir Alric's next turn and then proceed toward the dragon Khorayt. Unfortunately, Grisban made short work of the shadow dragon and Jain was able to rush in, grab the Dawnblade, and make it well down the hallway toward the entrance before I could do so.
This is one of the quests that I definitely want to try again, and see if I am able to achieve victory. I was curious to see how the Sir Alric vs. Khorayt battle would play out, as the dragon has respectable stats and only the Dawnblade can affect it. The heroes may have won this quest, but Act II was still an Overlord victory!
Friday, May 17, 2013
Descent: Journeys In The Dark (Quest) - The Twin Idols
Quest VI - The Twin Idols
Having been briefed by Baron Greigory's librarian, the heroes departed for the Carthmounts to find the Twin Idols - the Idol of the Sun and the Idol of Skulls. According to the librarian's findings, the Idols could be used to either reinforce or weaken the seals containing the Dragonlord Gryvorn. The journey was largely uneventful until the heroes neared the mountains. Jain Fairwood skillfully led the heroes around the Overlord's patrolling minions, and Grisban the Thirsty bravely held a nest of forest spiders at bay while his companions escaped to safety. Before long, the heroes had reached the cavern that housed the Twin Idols. [The heroes successfully evaded one of the Overlord's spies, forcing him to discard a card, while Grisban was the only one Poisoned by the spiders on the Travel Events.]
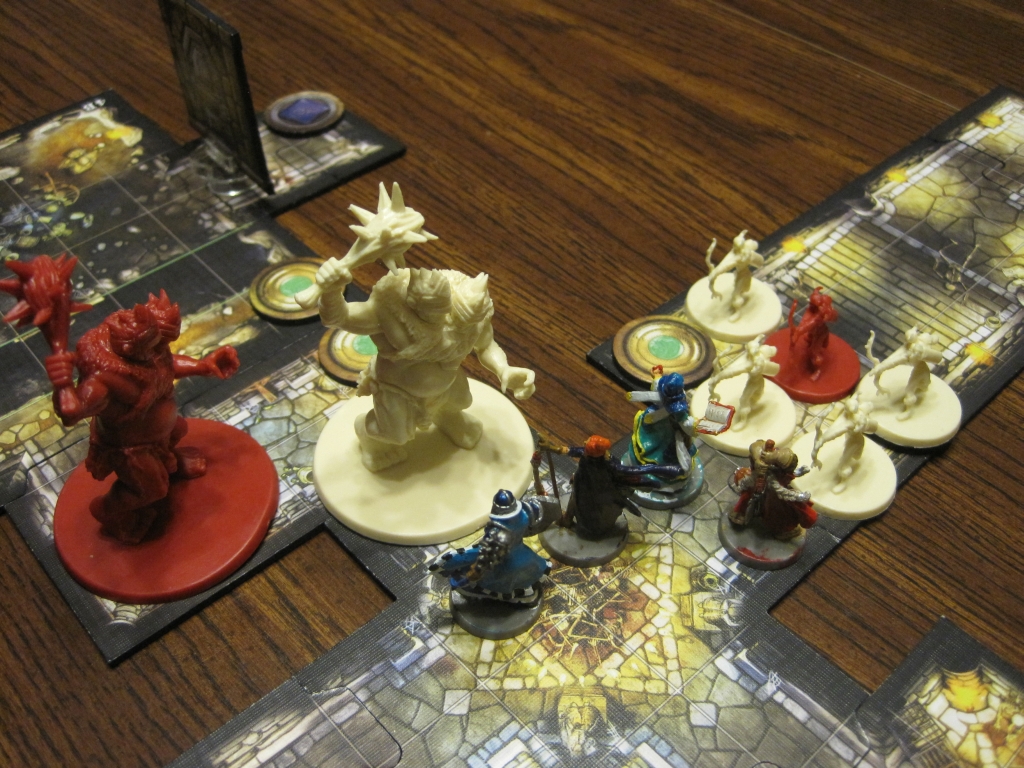
The heroes arrived just in time to see a group of goblin archers carrying the Idol of Skulls. Grisban and Leoric of the Book hurried forward to hold them at bay, while Avric Albright stood guard as a pair of ettins approached from another passageway. The goblins peppered Grisban and Leoric with arrows, but to little effect. Meanwhile, Jain ran down the remaining corridor and searched in vain for a key to the Idol of the Sun. [The heroes wisely rushed forward to the intersection and set up a defensive line to hold the monsters at bay. Their plan worked brilliantly, namely because the Overlord forgot the goblins archers' Scamper ability, which allows them to move through heroes!]
 |
| The heroes hold the line |
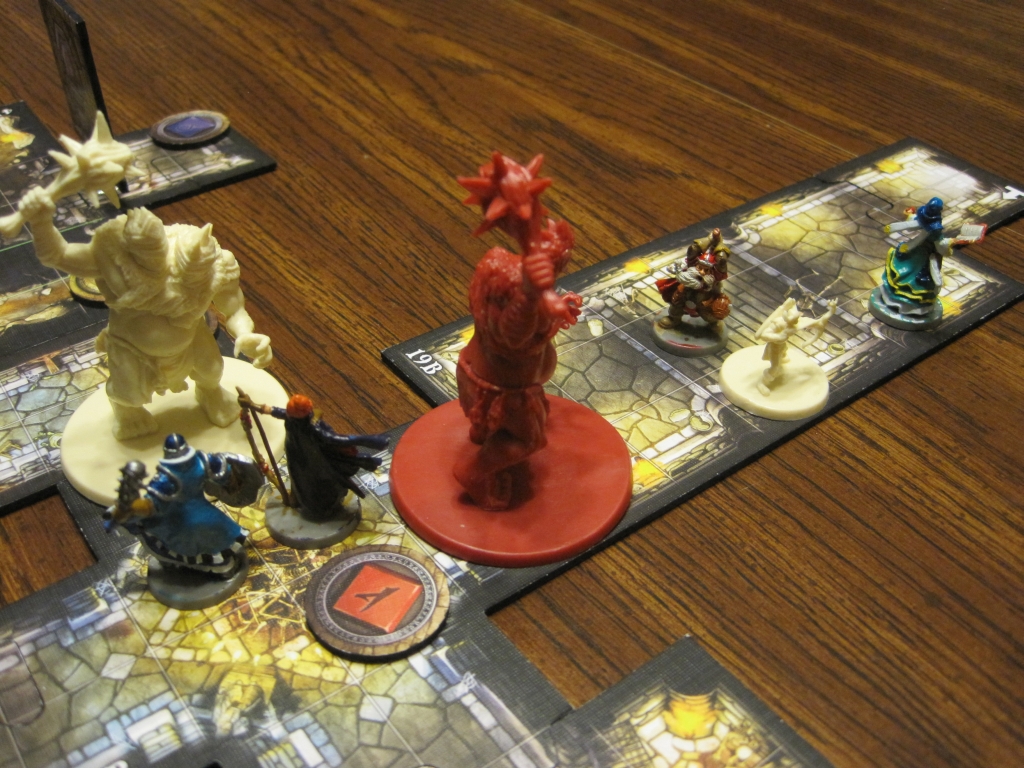
As Grisban and Leoric pushed forward against the goblins and felled a number of their number, they quickly moved forward to search for the key. The ettin boss, Zak'n'Jak, wounded Jain and quickly pushed past Avric to keep the heroes separated and let the other ettin push forward. Another goblin archer rushed in the entrance behind the heroes and quickly picked up the Idol of Skulls. The heroes knew the race was on! [The Overlord saw his opening once Jain was knocked out, and moved the master ettin to block Grisban and Leoric in the northern passage. Meanwhile, a goblin archer reinforcement came in the Entrance and rushed forward with a Dash card to quickly grab the Idol of Skulls and made a run toward the Sewer tile, as the ettin minion moved to cover his escape!]
 |
| The tables are turned |
Grisban and Leoric defeated Zak'n'Jak and tossed his key to Jain, who ran like the wind far into the Ettin's Lair. The goblin archer carrying the Idol of Skulls had made it to the Sewer, but was just climbing down into the filth as Jain opened the door and activated the Idol of the Sun. The heroes had triumphed, and were shown a vision of where to find the Sun Totem! [Jain used her Heroic Feat to double move, and then used another Move action to move a massive 15 spaces! The goblin archer was a couple of moves away from being able to place the Idol of Skulls, so the heroes won Encounter 1 and would get to go first as normal in Encounter 2.]
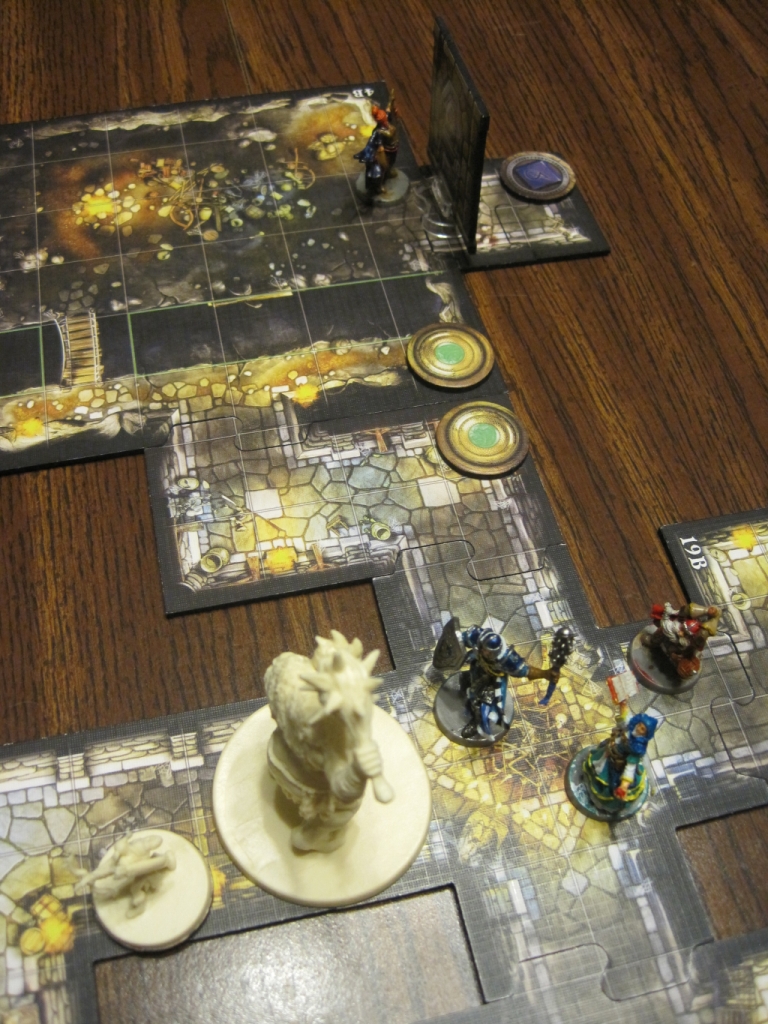 |
| Jain reaches the Idol of the Sun as a goblin archer makes a break for it with the Idol of Skulls |
A short while later, the heroes had reached the valley within the Carthmounts depicted in their shared vision. As they reached a small pond and the Skull Totem, they heard the nearby moans of zombies and the familiar voice of Lady Eliza Farrow taunting them. The heroes wasted no time rushing the zombies and destroyed a number of the decaying undead. [Lady Eliza Farrow was equipped with the Scorpion's Kiss, and the open monster group was the ever-useful hybrid sentinels.]
 |
| The battle for the totems begins |
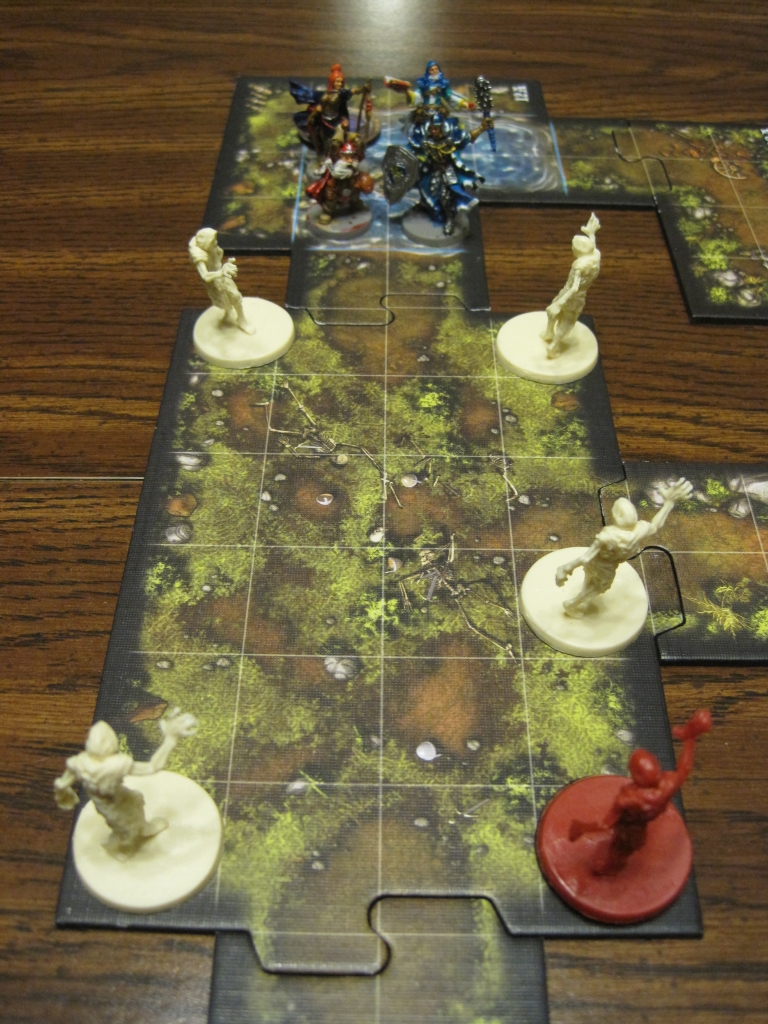 |
| The zombie gauntlet |
As the zombies pushed forward against the heroes, Jain broke through their lines and made a sprint toward the Sun Totem. She had just made it to the Graveyard where the totem rested, when she was attacked by both a master and a minion zombie. Already wounded, she could not fight them off and fell to their attacks. Suddenly, she found herself back on the Muddy Path leading to the Pond, restored by the mystical spirits of the valley! [Jain was the first hero to get knocked out in this encounter, which meant she was restored to full health and stamina and placed back on the Muddy Path tile. Normally this would have been a great boon to the heroes, but in this case it wasted her Heroic Feat in her attempt to reach the Sun Totem.]
As the zombies and Lady Eliza pressed the heroes, the hybrid sentinels simultaneously pressed the assault as one of their number flew overhead and grabbed the Skull Totem. Leoric and Avric fell, reappearing next to Jain on the Muddy Path and leaving Grisban alone to fight the Overlord's minions. Lady Eliza used the Scorpion's Kiss to great effect, raining damage on Grisban and pinning him in place with the bow's enchanted poison arrows. While the Poison did little against the hearty (and ale-soaked) dwarf, the Immobilization enchantment kept him rooted in place and prevented him from chasing the hybrid sentinels. As the dragonkin flew off with the Skull Totem, the heroes rallied and made a final rush past a wave of zombies to search for one last treasure. [The Scorpion's Kiss was a great boon in limiting Grisban's ability to tear up the Overlord's forces by repeated Immobilize effects. With one final push, multiple heroes fell as the hybrid sentinel escaped with the Skull Totem and rapidly escaped the heroes' ability to retaliate. The heroes had been outmaneuvered, but put on a good show of teamwork to reach one last Search token.]
 |
| A hybrid sentinel escapes with the Skull Totem as the Overlord's forces hold the heroes at bay |
 |
| The heroes cooperate to claim one last prize |
The Overlord's minions withdrew, as Lady Eliza called upon the power of the Skull Totem and weakened the seals binding the Dragonlord Gryvorn. The Overlord was one step closer to his goal of dominion! [The Overlord won the quest, giving him extra XP as a quest reward and bringing Act II to 2-0 for the Overlord!]
OVERview
Encounter 2 started fairly well; the zombies fared about as expected, as they only have one brown defense die (pathetic!), even in Act II. I'm not sure how that's supposed to be balanced; it seems that they either need to have a much higher amount of health (so it takes a while for heroes to cut them down), or else have a "Rise Again" ability that lets them stand back up the next turn and just keep coming. The master zombie had a respectable attack, but the standard zombie minions are not a significant threat unless they can mob a hero.
As always, the hybrid sentinels were awesome shock troops and carried the battle. The master hybrid sentinel's Fire Breath was only used once, but combined with their Prey on the Weak and Fly abilities, they are great at picking on weaker/support characters. Also, as I predicted, their Fly ability came in very handy for reaching the Skull Totem past the heroes' lines and successfully escaping with it.
Finally, Lady Eliza Farrow combined with the Scorpion's Kiss relic was an excellent combination. She already has a nice ranged attack, and since the Scorpion's Kiss ability is a non-attack action (it does not cause damage, only Poison & Immobilize). The Poison ability on Grisban almost never actually does anything due to his massive Might stat, but the Immobilize was critical in locking him down and keeping him from slaughtering my minions. I look forward to seeing this relic in action again, and seeing the heroes come up with a counter to it.
Since this was the second Overlord victory in Act II, it ensured that we would be playing "The Man Who Would Be King" as the Finale quest.
Thursday, May 9, 2013
Descent: Journeys In The Dark (Quest) - The Monster's Hoard
Quest V - The Monster's Hoard
Having recovered from their epic battle at the Shadow Vault, the heroes had been contacted by Frederick, the farmer and former Shadow Binder that had been rescued from the Goblin King Splig's clutches several weeks prior. Frederick told the heroes of a legendary bow that he once used, but was currently in one of the Overlord's treasure vaults. The heroes, eager to strike a blow against their nemesis, agreed to escort Frederick to the vault and retrieve the legendary Trueshot. The heroes journeyed south, across the River Rhynn and into the Carthridge Mountains. Along the way, they were attacked by one of the Overlord's patrols, but otherwise the journey was uneventful. [The Overlord won the Interlude, and chose The Monster's Hoard. Since the heroes won the A Fat Goblin quest, I was curious if this mission would be heavily balanced in their favor. The only Travel Event was an ambush, so the heroes began the quest slightly wounded.]
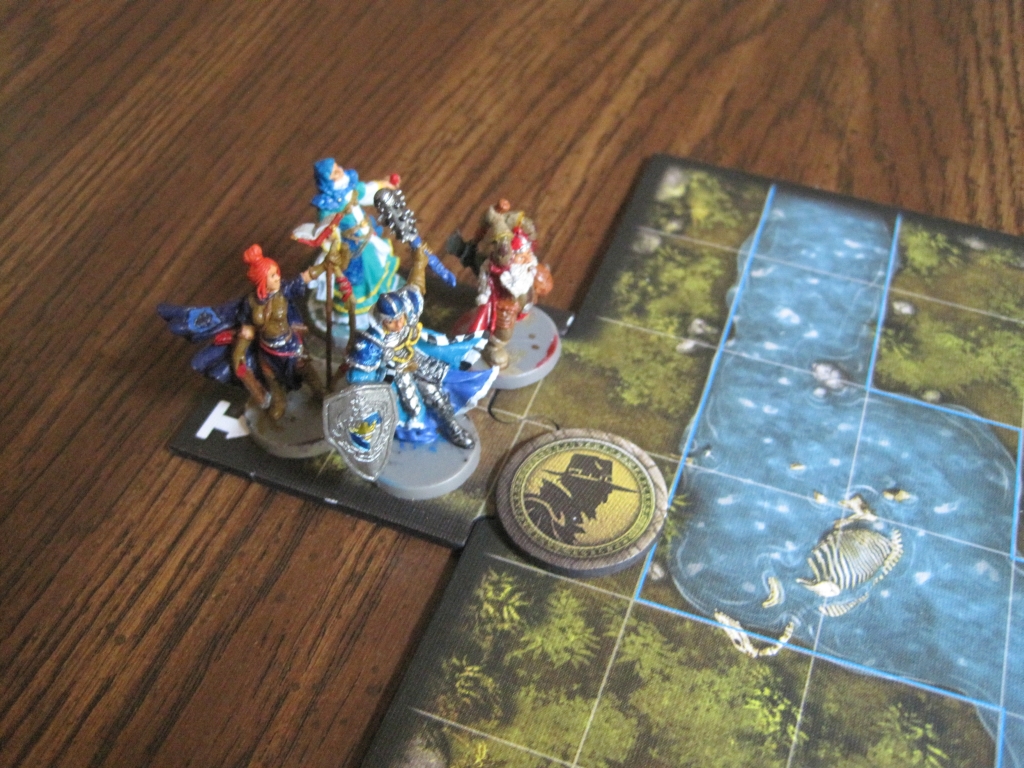 |
| The heroes escort Frederick toward their prize |
As they moved through the foothills and neared the location of the treasure vault, two merriods blocked the heroes' path. The heroes moved forward to protect Frederick, who stayed back out of the fight. The merriods must have eaten recently, or perhaps were old and sickly, as they failed to do significant harm to the heroes and did not survive long. However, the heroes knew the way was not clear, as they heard the flap of leathery wings approaching. [The Overlord rolled miserably for the two merriods, who were cut down in short order by the heroes. The three hybrid sentinels took the southern path and maximum speed, in an attempt to consolidate forces with the merriods.]
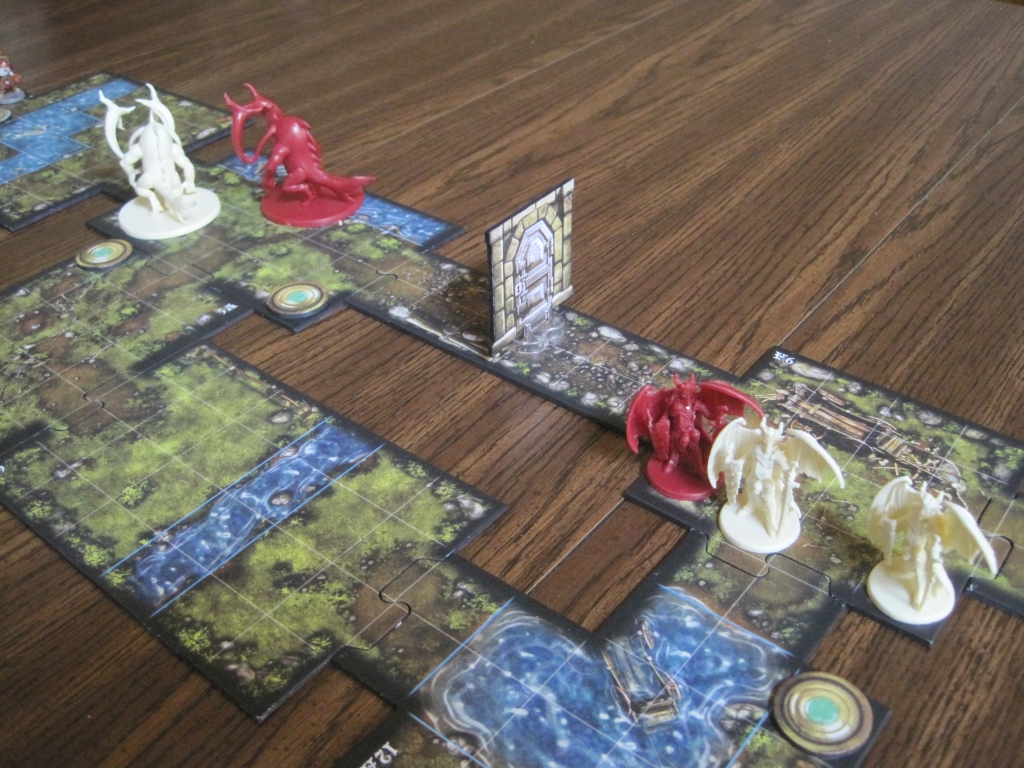 |
| The Overlord's forces attack |
 |
| The heroes defend Frederick against the merriods |
Gaining some breathing room, the heroes moved forward to quickly search for a key to the sealed runic door. Leoric, Avric, and Jain searched nearby as Grisban held back to engage the merriod reinforcements. Jain found the runic key, but had moved too far ahead of the party and one of the hybrid sentinels pounced on her, cutting her down. Meanwhile, the other two flew over the heroes' defensive line and attacked Frederick. Additional merriods had arrived, attacking Avric and the farm with their flailing tentacles. [Jain was exposed, and one of the hybrid sentinels took her down. The other two flew over Grisban and Avric to attack Frederick, as the master merriod moved into range and did the same.]
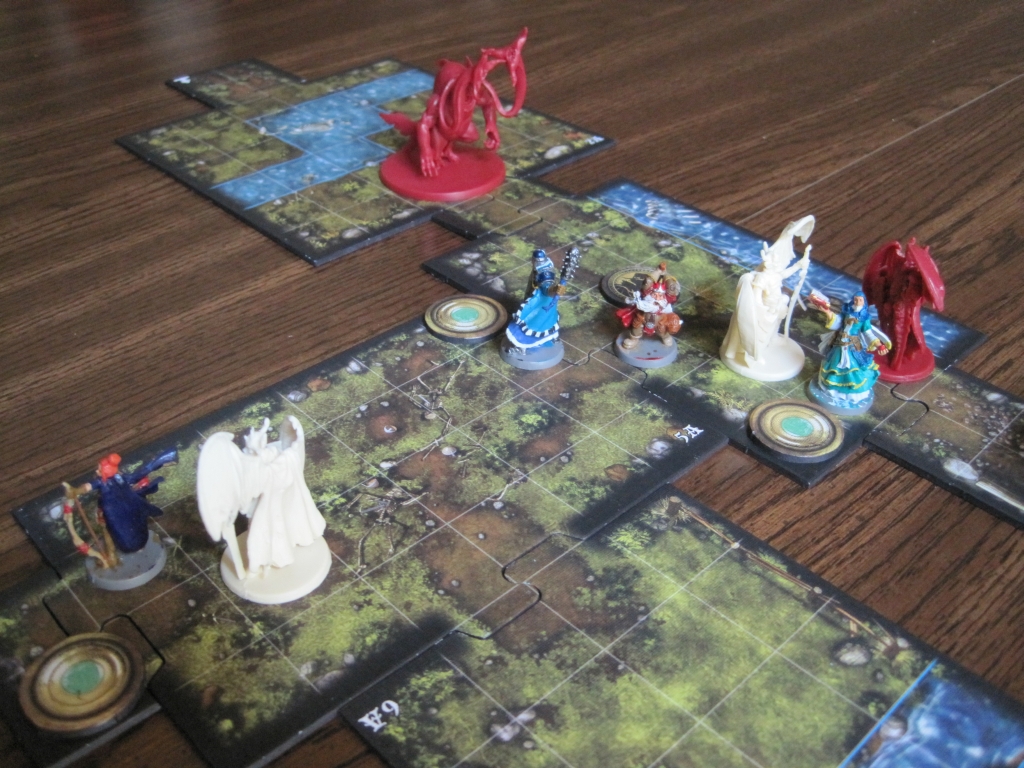 |
| Jain is exposed as the other monsters chase after Frederick |
As the other heroes fought, Leoric ran ahead and unlocked the runic door to give them an escape route. Jain recovered and quickly moved back to her allies, as Avric began to fall back to the hallway. Grisban had been ensnared by one of the merriods' tentacles, but was covering the other heroes' withdrawal. However, the hybrid sentinels would not be deterred so easily, as as the merriods kept Grisban busy, they chased their quarry into the tunnel. The master hybrid sentinel used his fearsome fire breath, taking down Jain and Leoric and further harassing Frederick. Surrounded and desperate, Frederick made a break for it, but was cut down by two of the hybrid sentinels as the heroes looked on in horror. [The heroes had a strong start, but left too many openings for the hybrid sentinels to continue to attack Frederick. Grisban was Immobilized by one of the merriods, and couldn't help the other heroes in the tunnel. The heroes' last gamble did not pay off, and the result was an Overlord victory for Encounter 1!]
 |
| Frederick makes a desperate attempt to flee, but cannot escape the hybrid sentinels |
The heroes had lost their guide, but were more determined than ever to continue on and avenge him. They entered the treasure vault and spied what Leoric knew to be Glyphs of Transport. Unfortunately, any hope of taking advantage of the glyphs had died with Frederick. [Since the Overlord won Encounter 1, only monsters would be able to use the glyphs to teleport around the map in Encounter 2. Normally the Overlord victory in the first encounter is not so important, but this was a critical element to making it to the eight-round time limit for Encounter 2.]
Taking no time, the heroes moved into the vault and quickly engaged some nearby elementals in the Lava Cave. Their assault destroyed one elemental and forced the second to flee as goblin archers began to teleport into the vault via the Glyphs of Transport! The shadow dragon minion moved down to engage the heroes, as the master shadow dragon stayed in the Armory and near the vault exit. [The heroes tore into the elementals, which only managed to do so-so damage. The Overlord moved one of the shadow dragons down to assist, and used the goblin archer to harass the heroes.]
The heroes decided to split up to attempt to search the vault before they were overwhelmed by the Overlord's minions. Leoric and Grisban stayed back to engage the shadow dragons, as Jain and Avric moved down the hallway and finished off the last elemental. The shadow dragon moved to block Grisban in the Lava Cave, as he finished off Leoric. Jain and Avric cleared the depths of the vault, but were ambushed by several goblins and Jain seriously injured. [The heroes had been stalled between the remaining elemental and the shadow dragon minion, so they had decided to split up to attack the dragons and search the map. It wasn't working so well for them.]
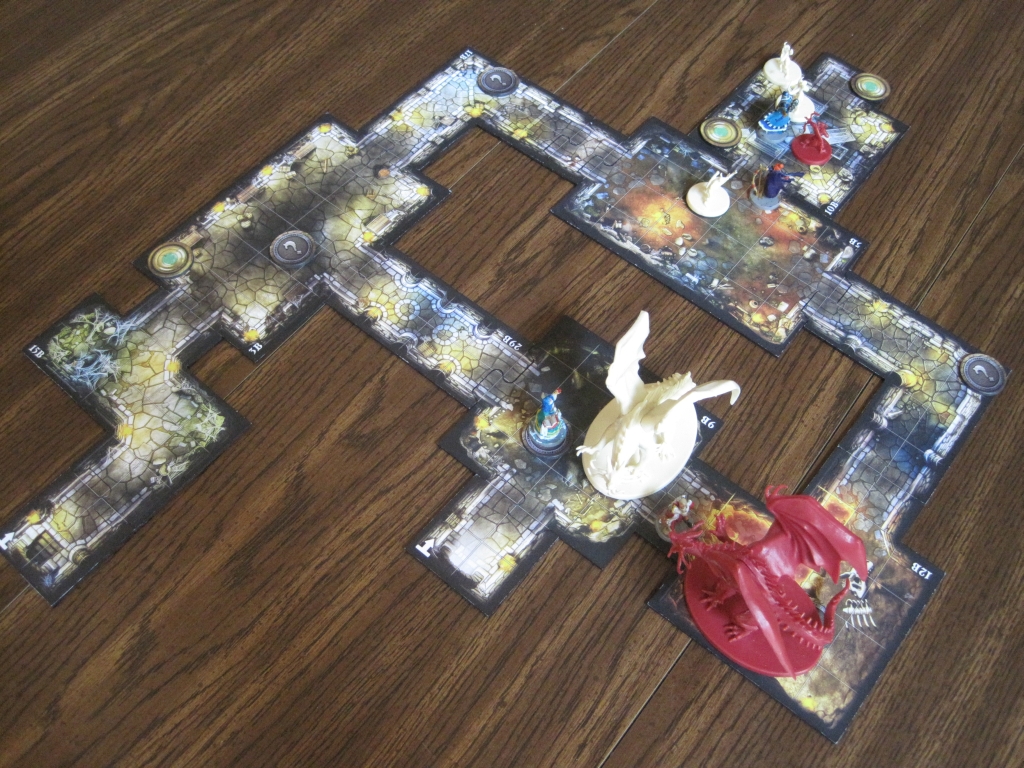 |
| The heroes are split up and surrounded |
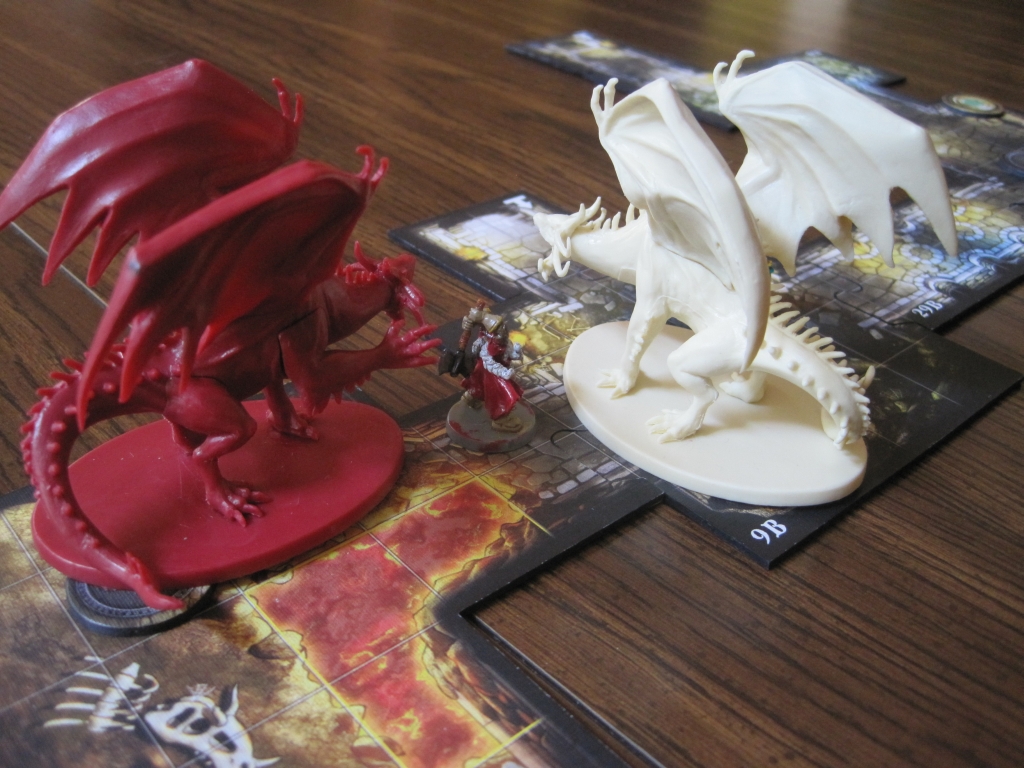 |
| Grisban the Thirsty vs. two shadow dragons |
 |
| Jain Fairwood and Avric Albright swarmed by goblin archers |
Seeing victory was near, the master shadow dragon used the nearby glyph to teleport behind Grisban, pinning him between the two dragons. The goblin archers' continued volley felled Avric, leaving Grisban as the last hero standing. Eventually the combined might of two shadow dragons was too much for the dwarf, and the heroes knew they would not prevail. Fighting valiantly, they withdrew from the vault before yet more of the Overlord's minions arrived. [The heroes were split up, and even the mighty Grisban couldn't solo two shadow dragons (also, in his defense he was rolling horribly). I don't know if it's a hard rule, but all four heroes were Knocked Out during Overlord Turn 6, and we decided it was an Overlord victory.]
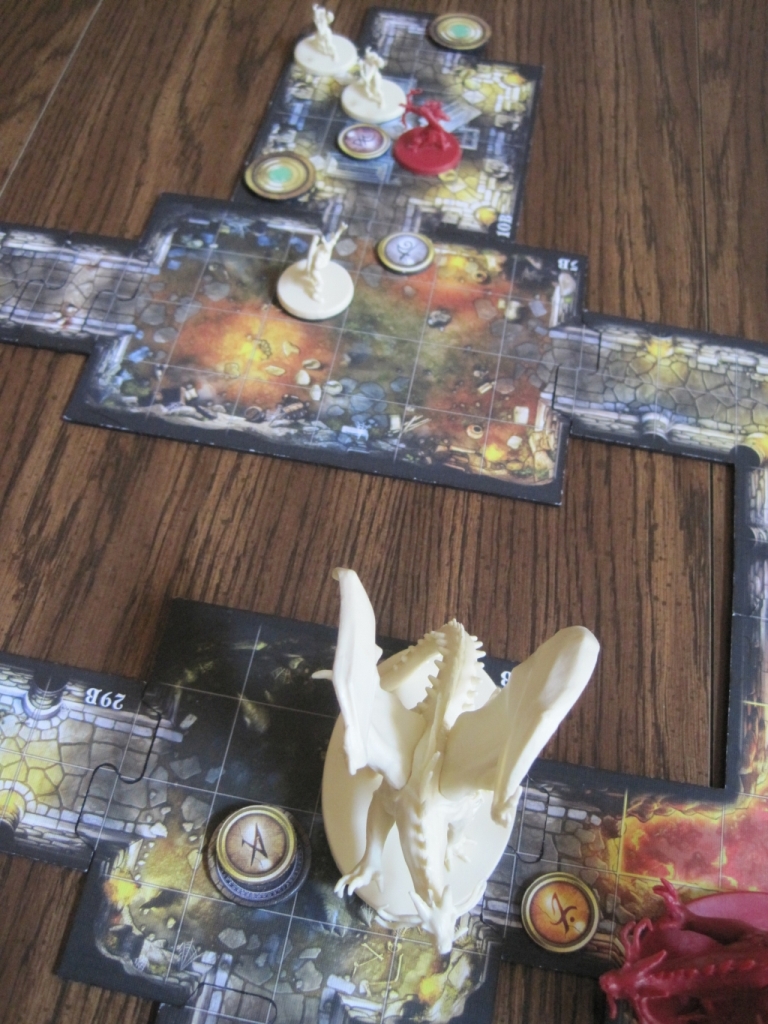 |
| All four heroes defeated! |
OVERview
My open group choice for Encounter 1 (hybrid sentinels) proved very, very useful. Their Fly ability allowed them to ignore the water tiles, thus allowing them to reach the heroes much sooner and move over the heroes' defensive lines to attack Frederick. Coupled with the Prey On The Weak ability and the master hybrid sentinel's Fire Breath ability, they have proven a very solid choice in every quest thus far.
Aside from that, the heroes made some mistakes and left too many paths to Frederick open for me to exploit. They did a pretty good job of blocking off the merriods, but the hybrid sentinels managed to sneak into positions to attack Frederick. While he does have 20 health and two grey defense dice, the fact that Frederick cannot be healed means suicide runs against him are viable.
For Encounter 2, I chose elementals and shadow dragons. The shadow dragons' Shadow ability is a huge advantage, and they should be used to full effect in every mission possible. The elementals have only been so-so; some of their abilities are useful (such as Fire if they're near two or more heroes), but they don't seem to be very resilient and they do not have any abilities to spend Surges on. The goblin archers were surprisingly useful, as there were too many higher priority targets available for the heroes to attack them. Be sure to pay attention to
Subscribe to:
Posts (Atom)


